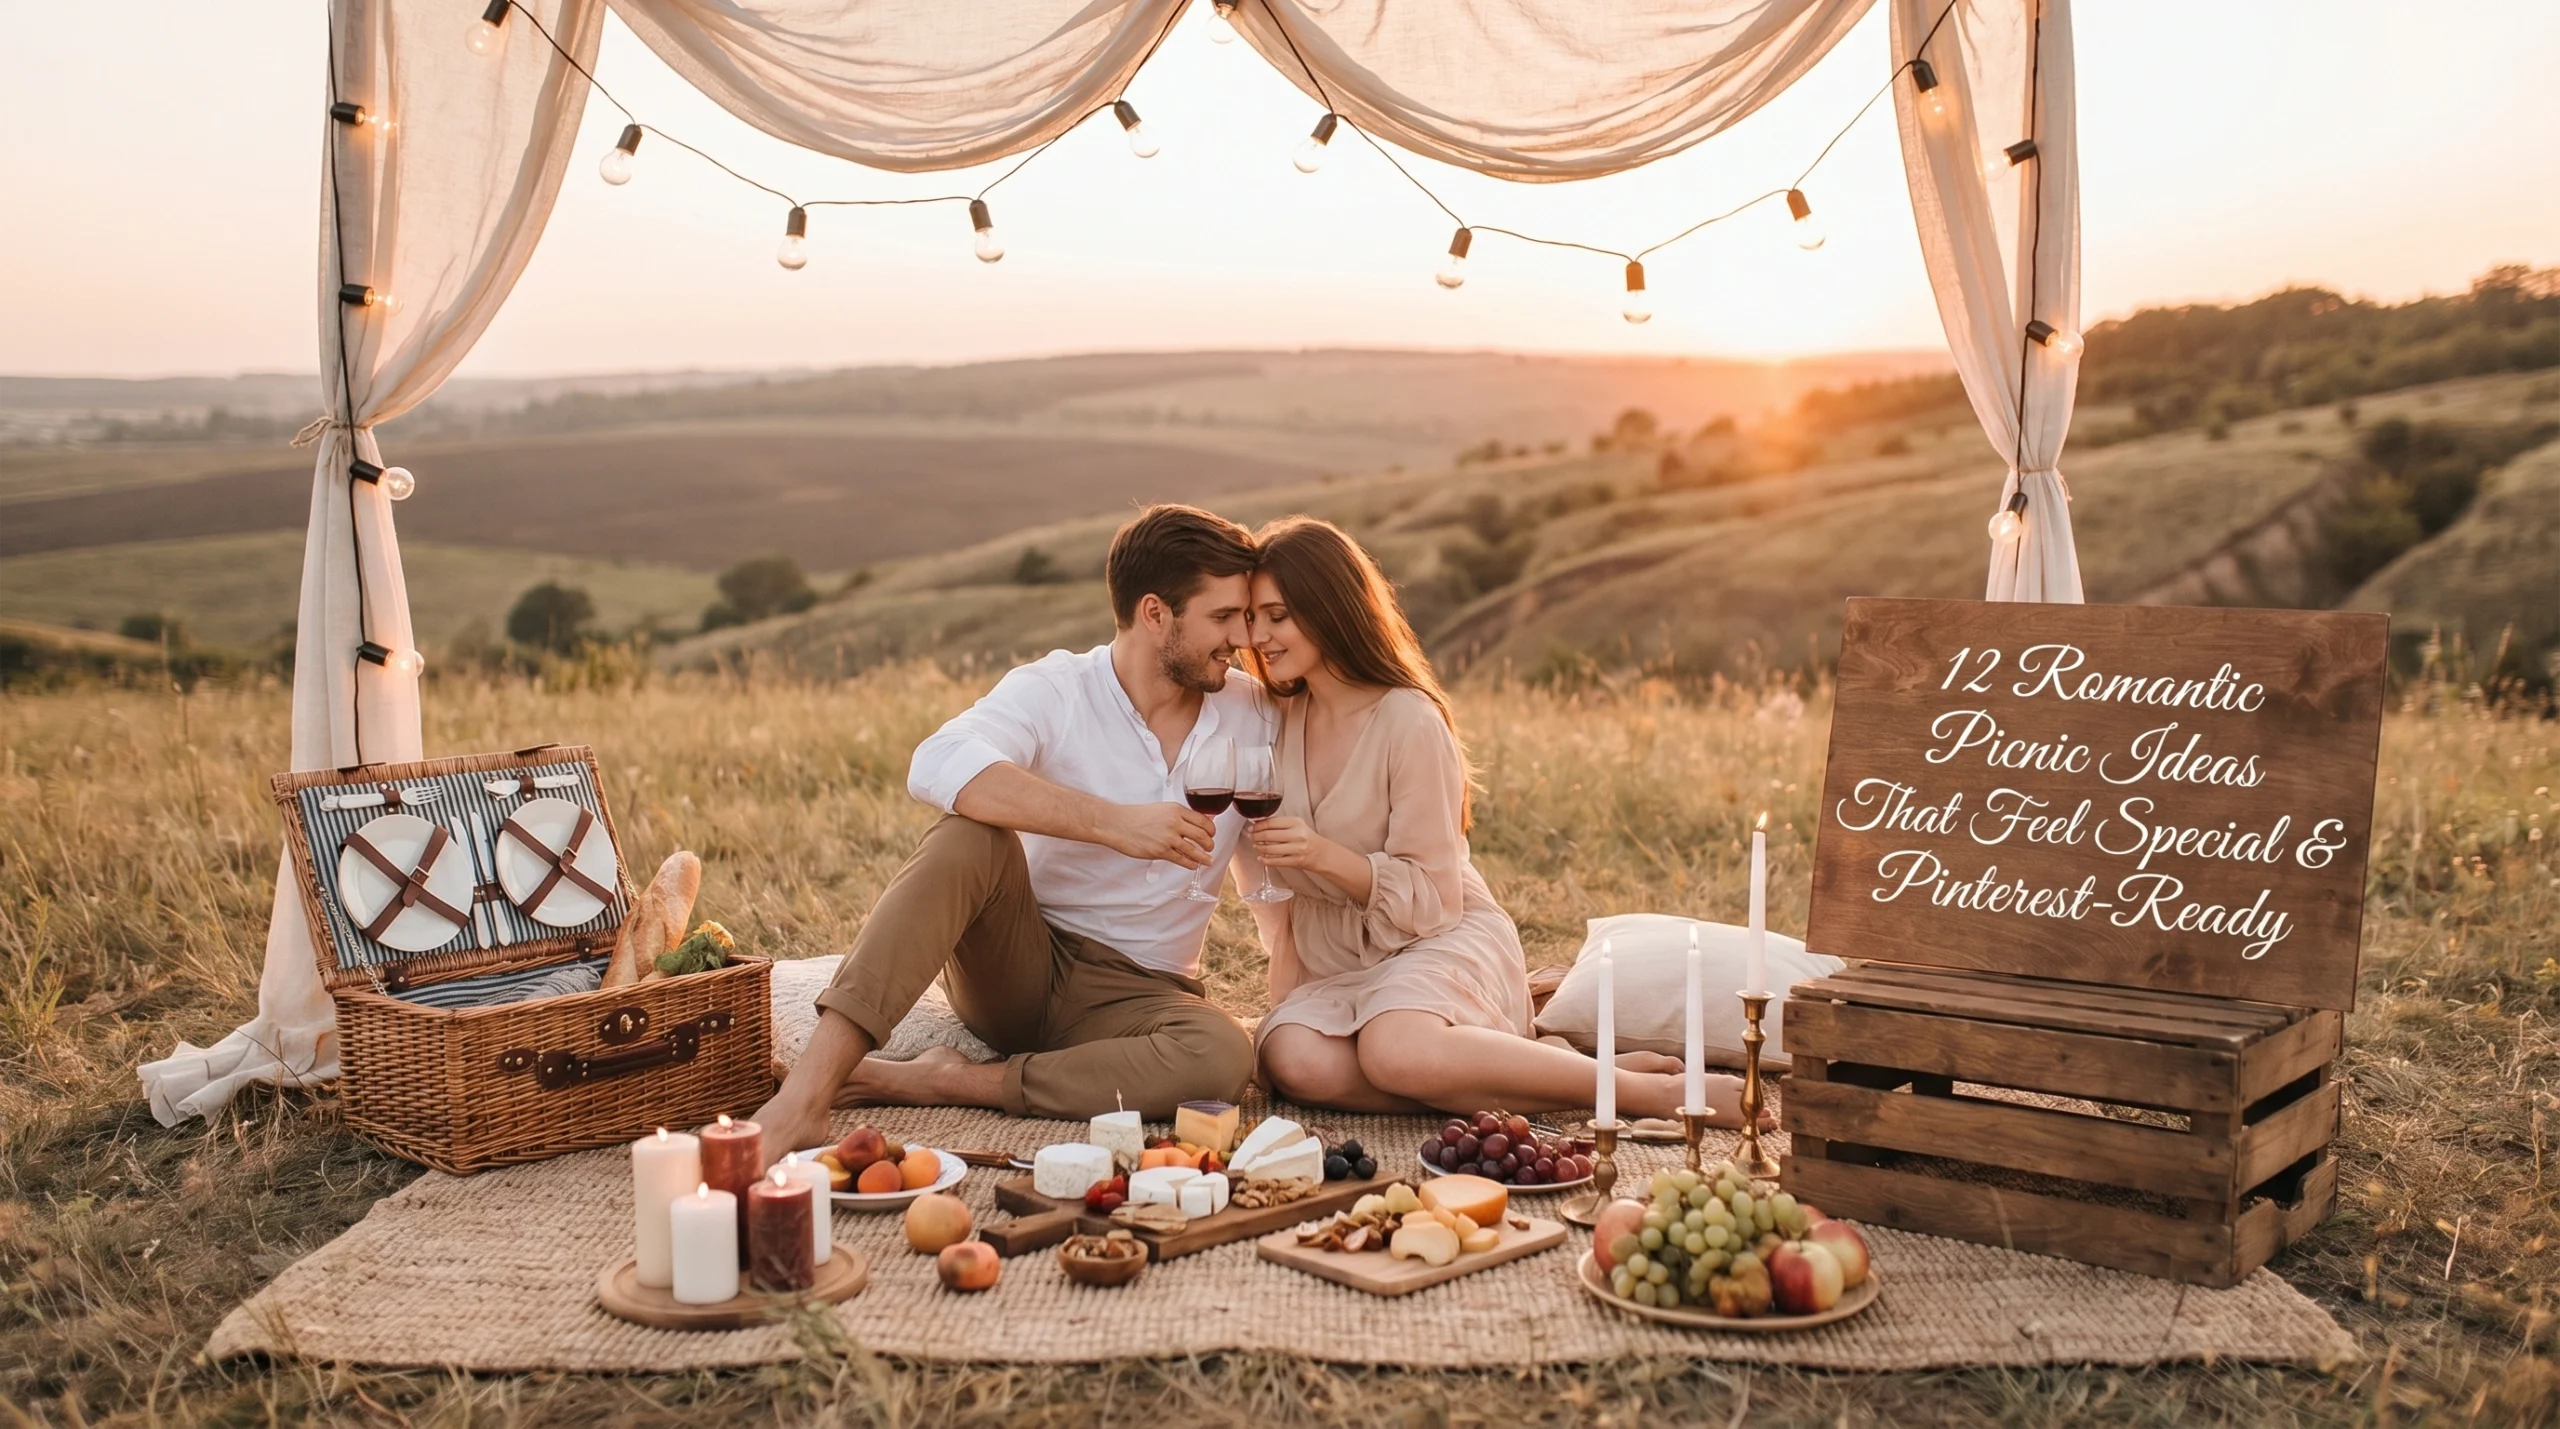
I’ve lost count of the number of times I’ve headed to the park with a plastic grocery bag and a thin towel, only to spend the whole afternoon feeling slightly uncomfortable and, honestly, a little underwhelmed. We all want that “picture-perfect” afternoon, but the reality often involves itchy grass, lukewarm drinks, and nowhere to lean back. The good news? You don’t need a massive budget or a professional event planner to fix this. In my experience, the biggest mistake people make is treating a picnic like a quick snack outdoors rather than an extension of their home’s comfort.
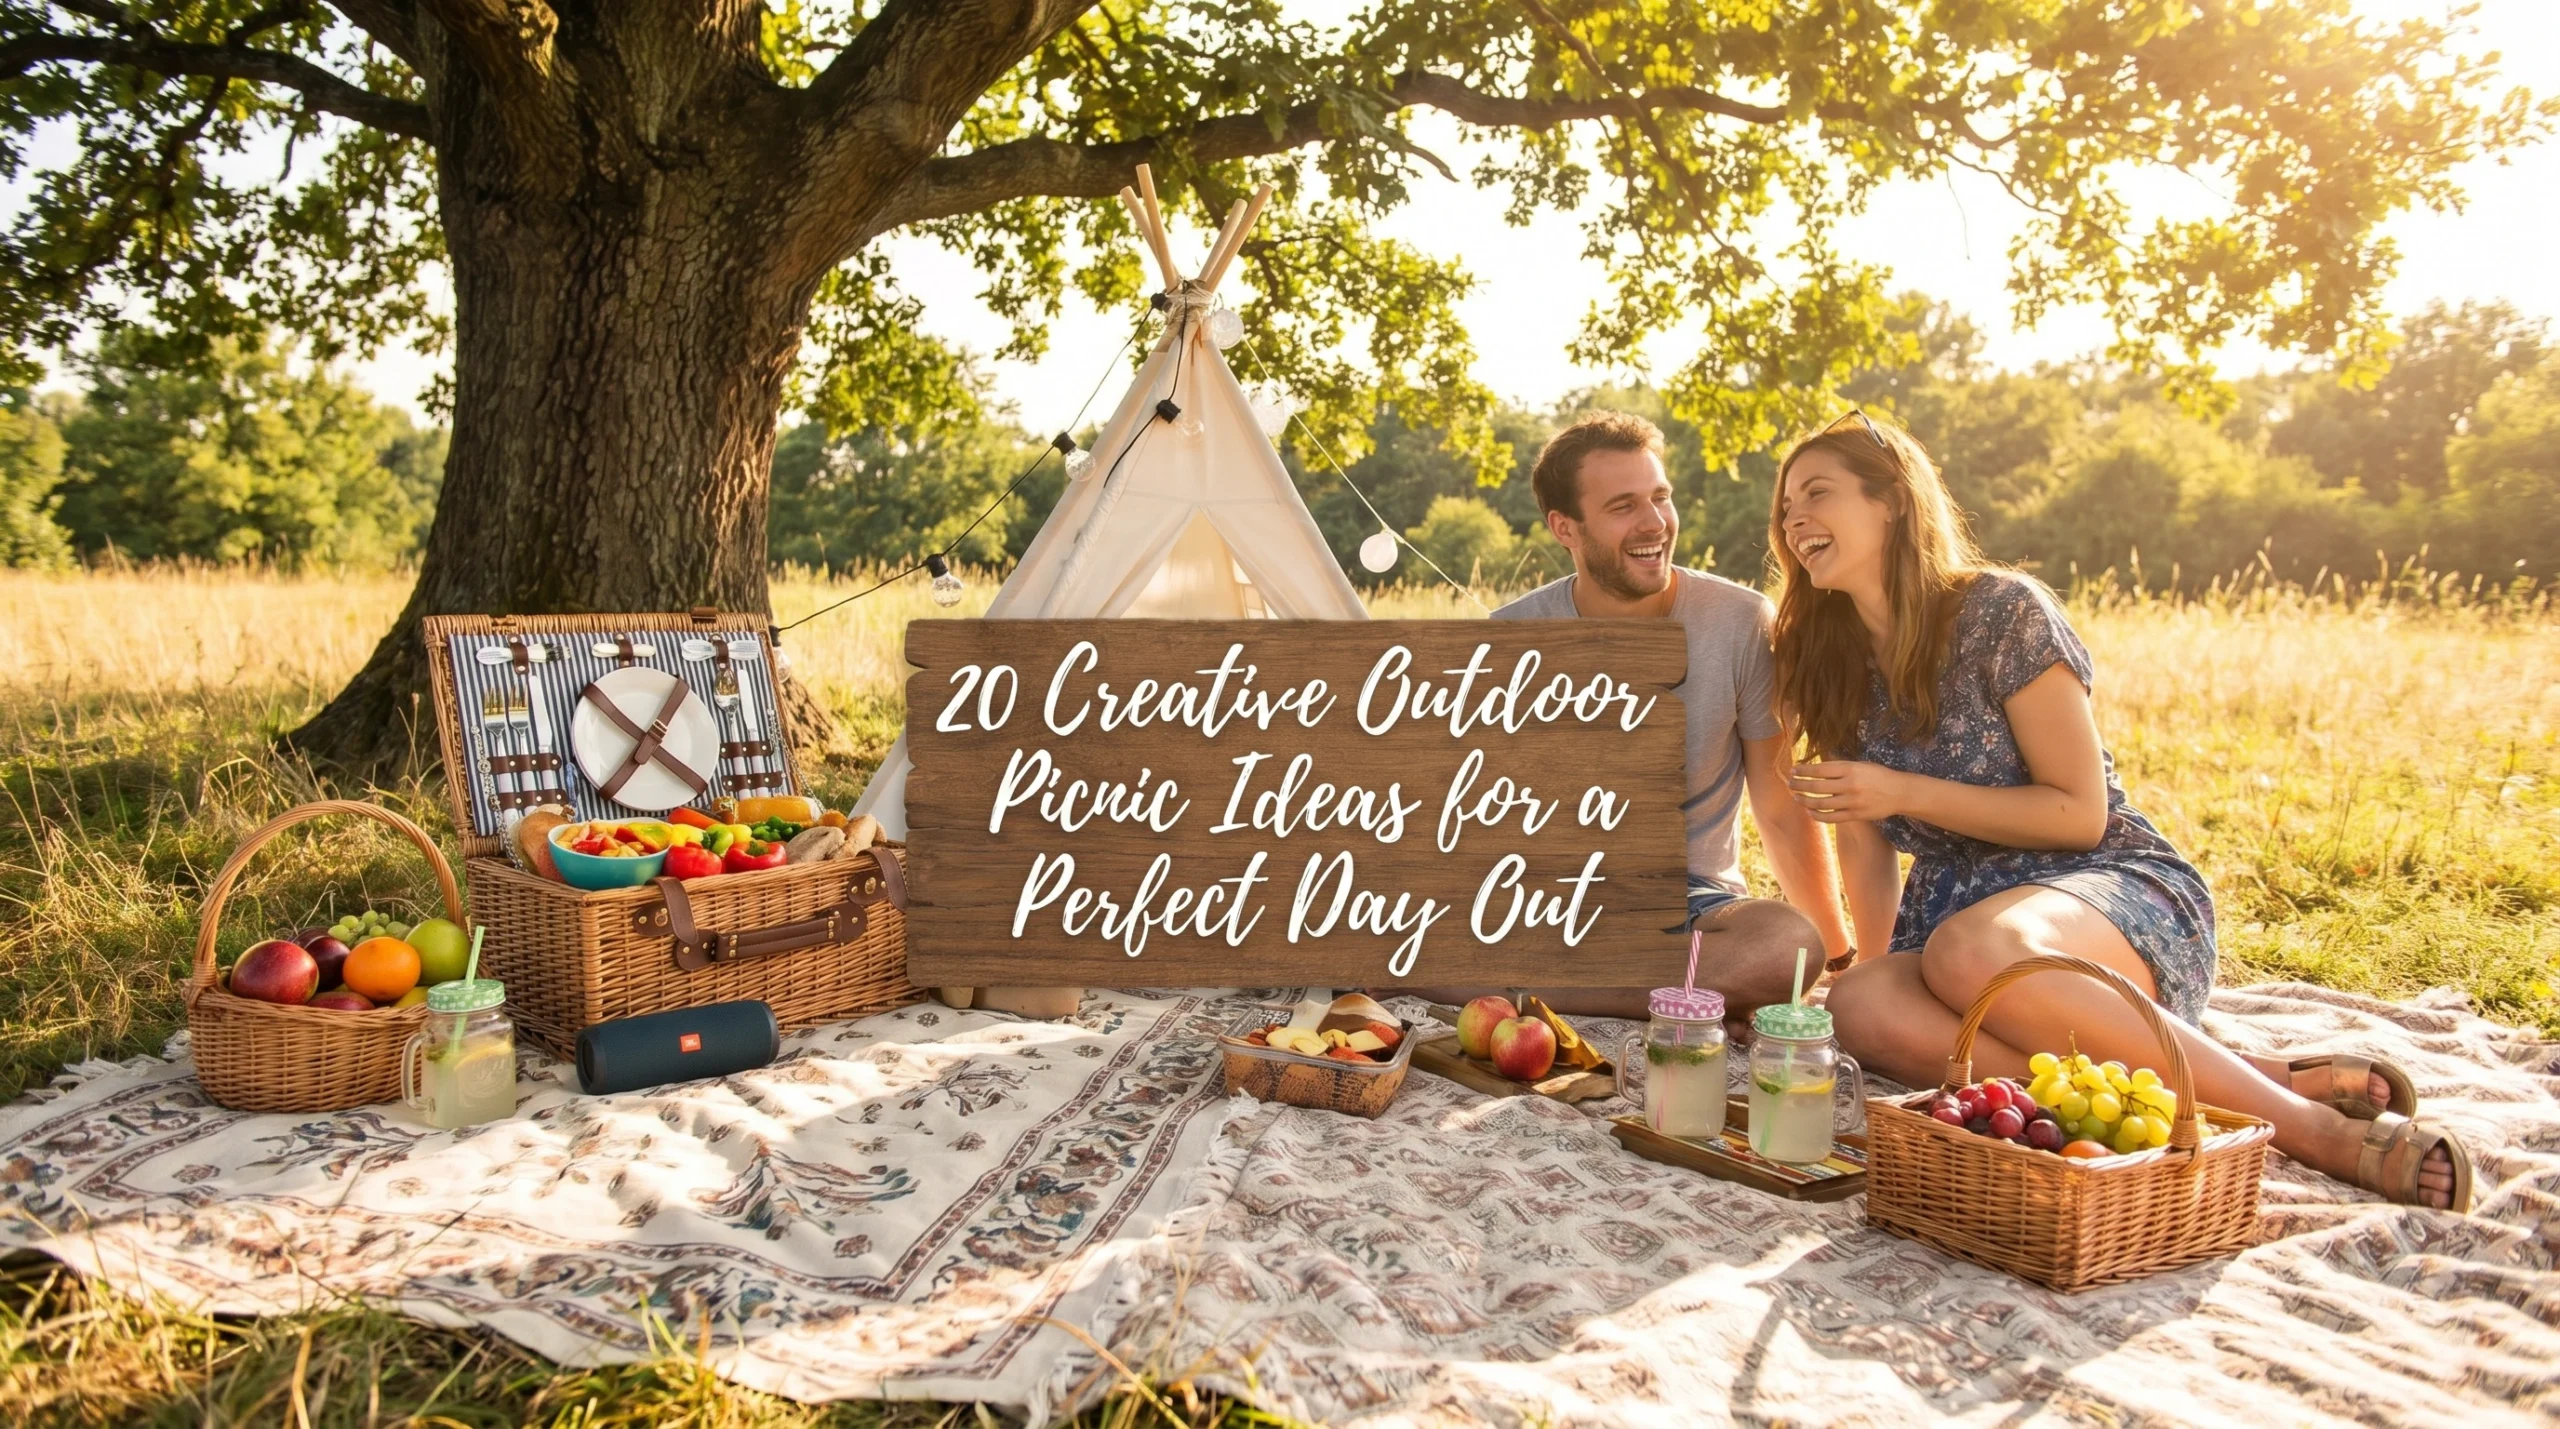
When you start looking at your outdoor setup through the lens of home styling, everything changes. It’s about creating a little “room” without walls. Whether you’re planning a romantic afternoon or a long-overdue catch-up with friends, these 20 Outdoor Picnic Ideas for a Perfect Day Out will help you move past the soggy sandwich phase and into something that feels truly special. We’re talking about warmth, personality, and real-life comfort that makes you want to stay until the sun goes down. Let’s dive into how you can make your next outing feel like a luxury retreat without the luxury price tag.
1. The Low-Profile Wooden Pallet Table
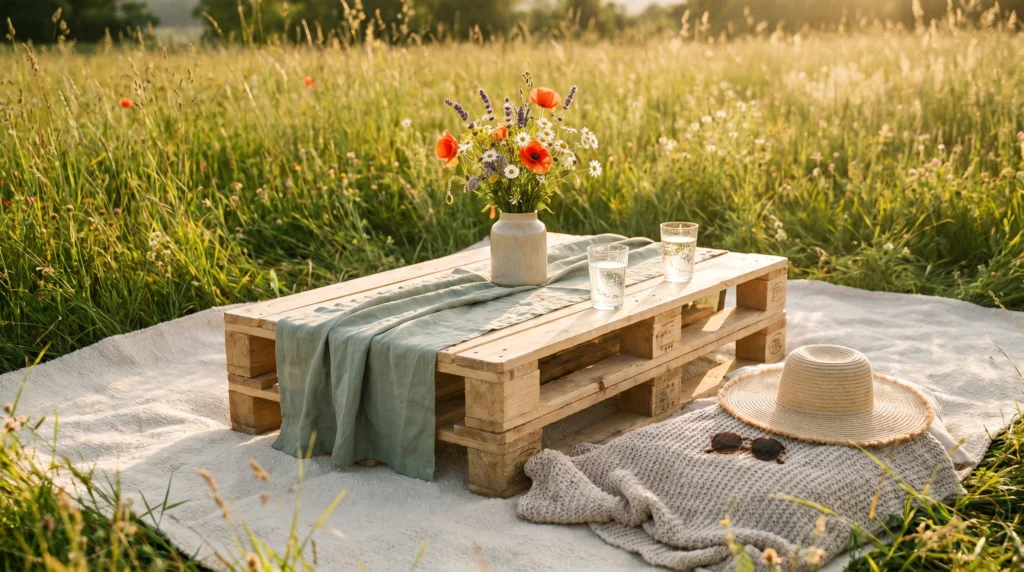
There is something incredibly grounding about having a solid surface to work with when you’re sitting on the grass. Using a low-profile table—or even a clean, sanded-down wooden pallet—instantly defines the “dining area” of your picnic. It keeps your wine glasses from tipping over in the uneven grass and gives you a place to rest your book. It feels less like a temporary stop and more like a real destination.
To do this, you don’t need to buy expensive camping furniture. A simple DIY pallet (often free behind hardware stores) works wonders if you cover it with a nice runner. If you’re traveling light, look for “picnic tables” that are essentially just folding wooden trays with legs. I always recommend placing the table on the flattest part of your blanket to prevent wobbling. Expect to spend $0 if you DIY or about $25–$45 for a foldable version. Tip: Always bring a small level or just a few flat stones to shim the legs if the ground is sloped.
2. Layering Textiles for Ultimate Ground Comfort
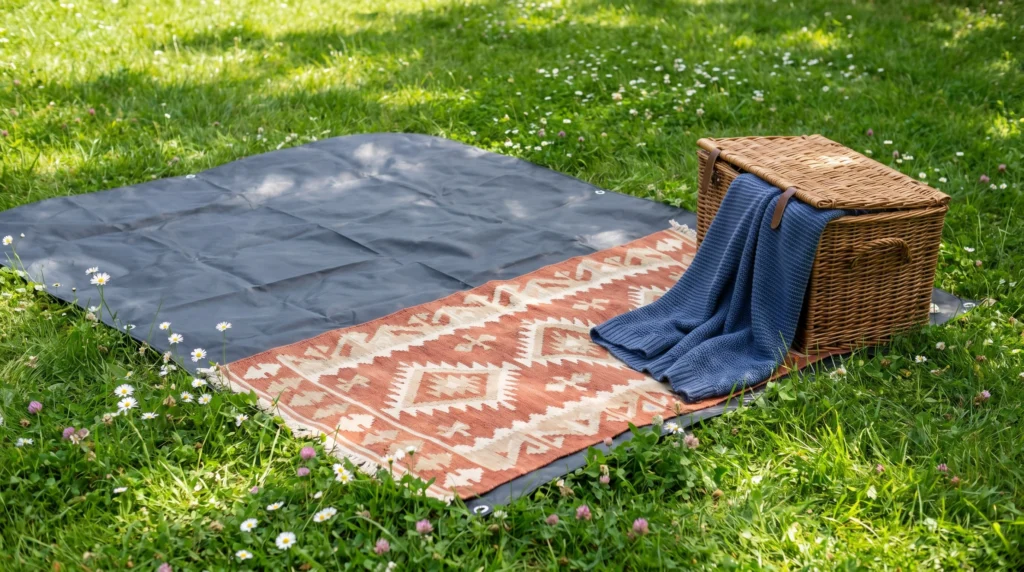
If you’ve ever spent an hour sitting on a single thin sheet, you know the “sore hip” struggle is real. What I personally love about the layered look is that it provides a literal cushion against the hard ground while making the space look incredibly cozy. It’s the difference between “we’re sitting on the dirt” and “we’ve moved the living room outside.”
Start with a waterproof tarp or a dedicated “outdoor” blanket with a plastic backing as your base layer. This is the step most people skip, but it’s the most important for avoiding damp grass. On top of that, layer a soft cotton rug or a heavy Mexican-style faux-wool blanket. You want varied textures—think a flat weave paired with something fluffier. You can grab these at discount home stores for $15–$30. A common mistake is using a white base layer; stick to darker neutrals or patterns to hide the inevitable grass stains.
3. Floor Poufs and Oversized Tossing Pillows
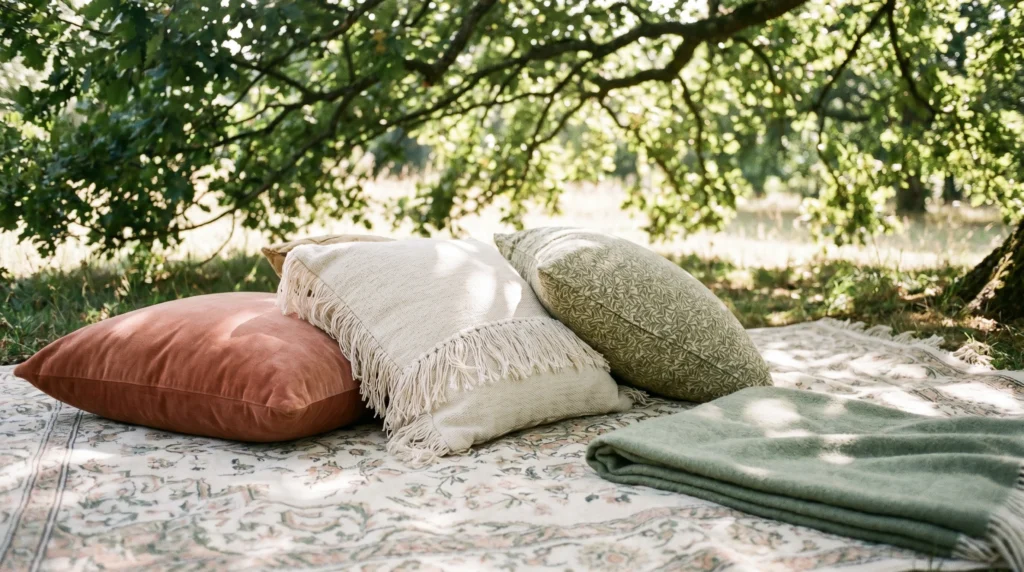
Let’s be honest: sitting upright on the ground for two hours is hard on the back. I always tell my friends to bring at least one “substantial” pillow per person. Floor poufs are a total game-changer because they provide enough height to actually support your weight, making it much easier to eat and chat without constantly shifting around.
You don’t need to buy “outdoor” pillows specifically; just grab the ones from your sofa and put them in washable covers (dusty rose or olive green covers look great outdoors). If you’re worried about dirt, look for canvas or indoor/outdoor fabrics. Placement is key—cluster them at one end of the blanket to create a “lounge” zone. You can find basic floor cushions for $20–$40. My personal tip: Avoid feather-filled pillows for picnics; they lose their shape too quickly on the ground and don’t provide enough support.
4. Vintage Suitcases as Side Tables

If you don’t want to carry a pallet, a vintage hard-shell suitcase is an amazing double-duty item. It carries your supplies and acts as a sturdy side table once you arrive. There’s a certain nostalgia to it that makes the whole day feel like a scene from an old movie. Plus, they keep your breakables much safer than a soft tote bag would.
Look for mid-sized suitcases at thrift stores ($10–$25). When you set up, flip the suitcase on its side or keep it flat to hold your drinks and cheese board. I’ve found that the flatter the top, the better. One common mistake is overfilling the suitcase so the hinges get strained; keep it light so it stays level.
5. Ambient Lanterns for Late-Afternoon Transitions
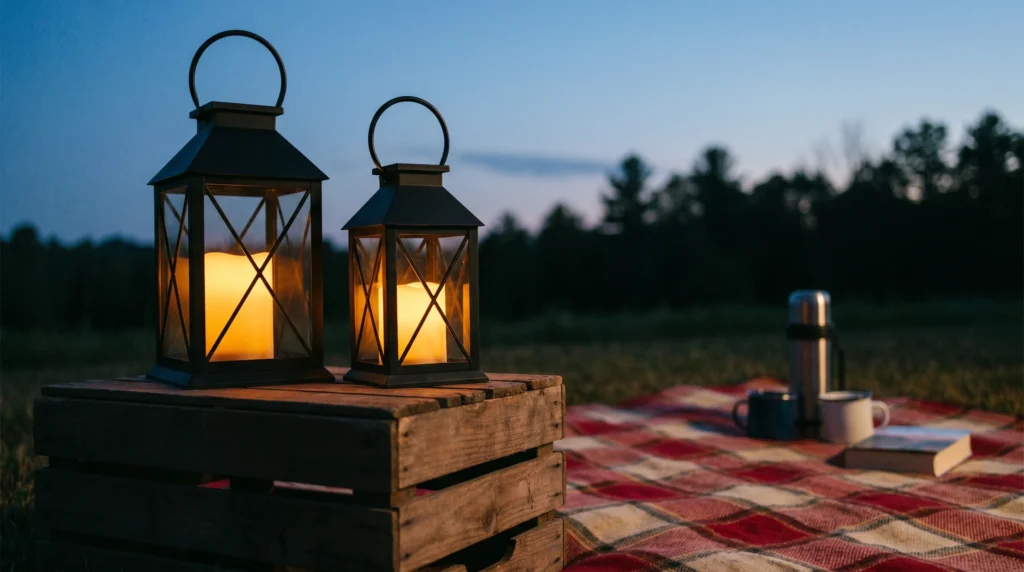
Most picnics start in the bright sun, but the best conversations usually happen as the light begins to fade. Bringing along a few battery-operated lanterns makes the transition from day to evening feel intentional rather than like you’re being forced out by the dark. It creates a “bubble” of light that feels very private and romantic.
I always suggest LED lanterns over real candles to avoid fire hazards and the frustration of the wind blowing them out. Look for ones with a “warm” or “flicker” setting to mimic real flame. You can hang them from a low tree branch or set them on your “table.” Basic styles are usually $15–$30. Tip: Group them in odd numbers (threes or fives) for a more balanced look.
6. Using Woven Baskets as Functional Decor
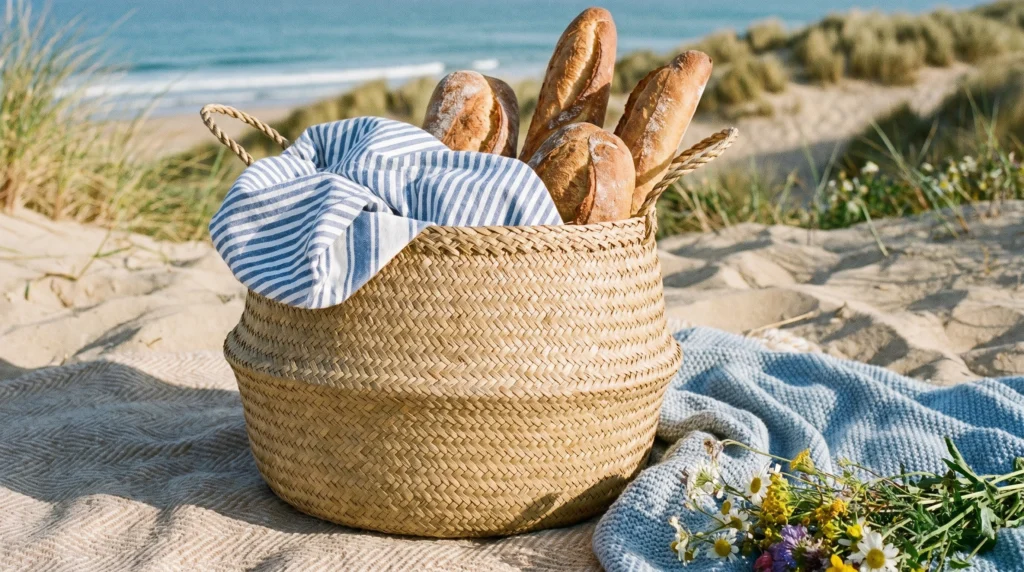
A picnic isn’t a picnic without a basket, but why hide it in the corner? A beautiful seagrass or wicker basket can serve as the centerpiece of your setup. It adds height to your “outdoor room” and keeps the clutter (like sunscreen and bug spray) out of sight while remaining within reach.
Select a basket with a sturdy handle and a flat bottom so it doesn’t tip over. I like to line mine with a linen cloth that hangs slightly over the edge for a soft, styled look. These range from $15–$50 depending on the size. A big mistake people make is buying a basket that’s too small; you want one that can actually fit your largest plates so you aren’t carrying three different bags.
7. The Individual “Grazing Box” Strategy
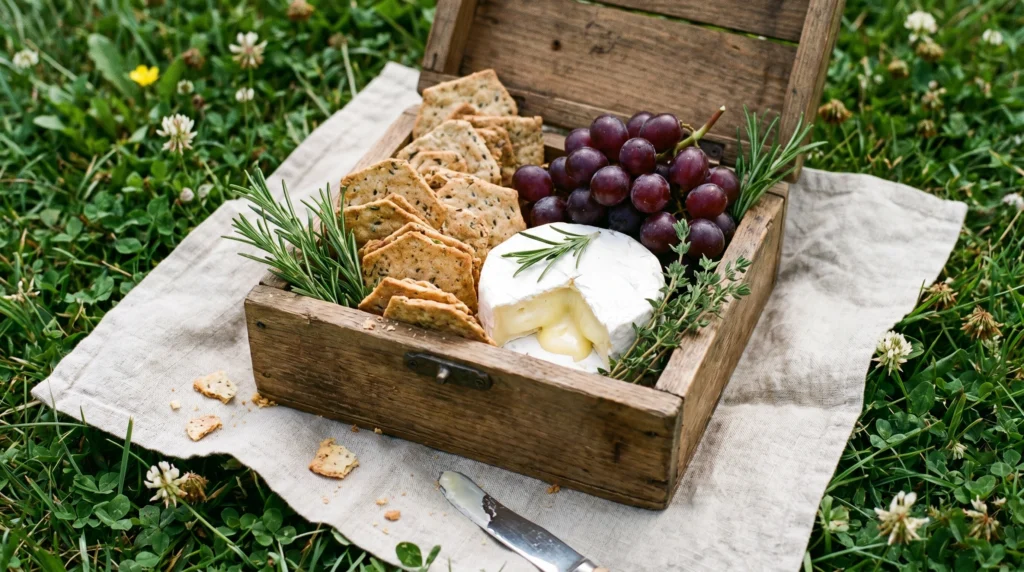
Large shared platters are beautiful, but they can be a nightmare to manage on uneven ground. I’ve found that giving everyone their own “mini grazing box” is a much better way to go. It feels personalized and prevents that awkward “leaning over everyone to reach the hummus” dance.
You can use simple cardboard bakery boxes or reusable wooden bento boxes ($5–$20). Fill them with a mix of cheeses, fruits, and crackers. This makes the “how-to” of eating much simpler. To keep it looking Pinterest-worthy, add a single sprig of rosemary or a flower inside each box. Tip: Don’t pack the boxes too early, or the crackers will get soggy from the fruit moisture.
8. Canvas Sun Umbrellas for Style and Shade
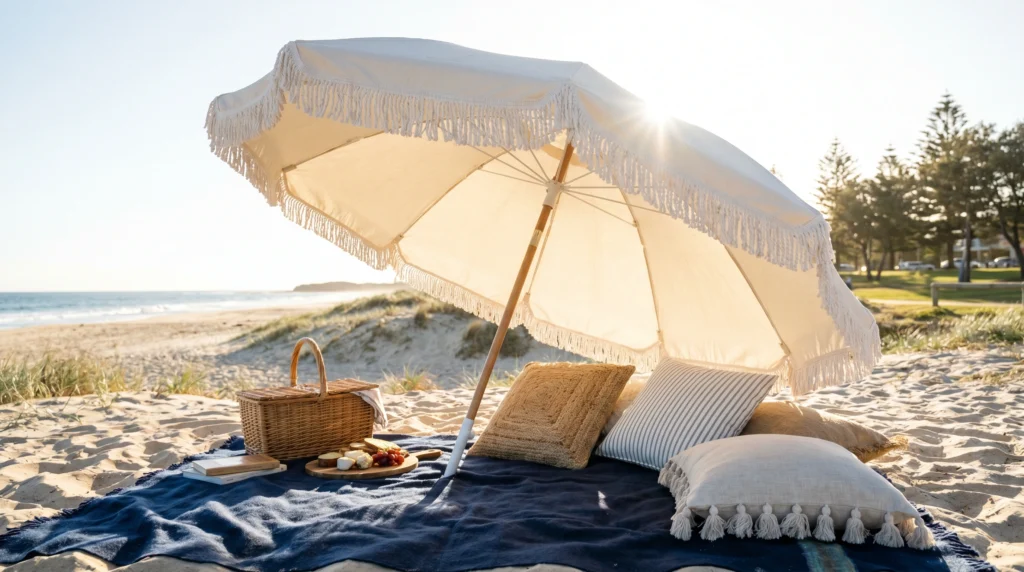
If you’re heading to a beach or a park with no trees, a stylish umbrella is a non-negotiable. Forget the bright neon plastic ones; a fringed canvas umbrella in a neutral tone like sand or sage green completely changes the mood. It provides a “ceiling” for your picnic, making it feel like a defined space.
Look for umbrellas with a tilt function so you can block the sun as it moves. A good canvas umbrella can be an investment ($60–$150), but it lasts for years. If you’re on a budget, look for “fringe trim” you can add to a basic umbrella yourself. A common mistake is not securing the base properly—there’s nothing less relaxing than chasing your umbrella across a windy park.
9. Fresh Flower Jars to Anchor the Space
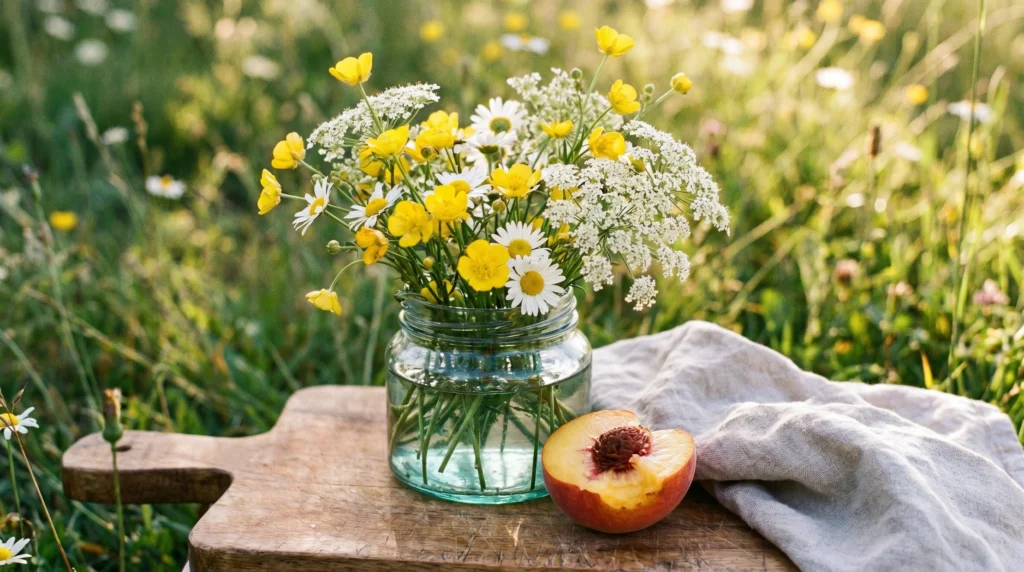
A lot of people think flowers are “too much” for a picnic, but I think they are exactly what makes a picnic feel like a special event. Bringing a small jar of flowers from your garden (or the grocery store) adds a pop of life and color that makes the whole setup feel “done.”
Use a heavy-bottomed glass jar or a small ceramic vase that won’t tip over easily. Keep the arrangement low and wide rather than tall to help with stability. This usually costs less than $10. Tip: Don’t fill the water to the top before you travel; carry the flowers in a dry jar and add a splash of water from your drinking bottle once you arrive to avoid spills in the car.
10. Tiered Stands for Vertical Food Styling
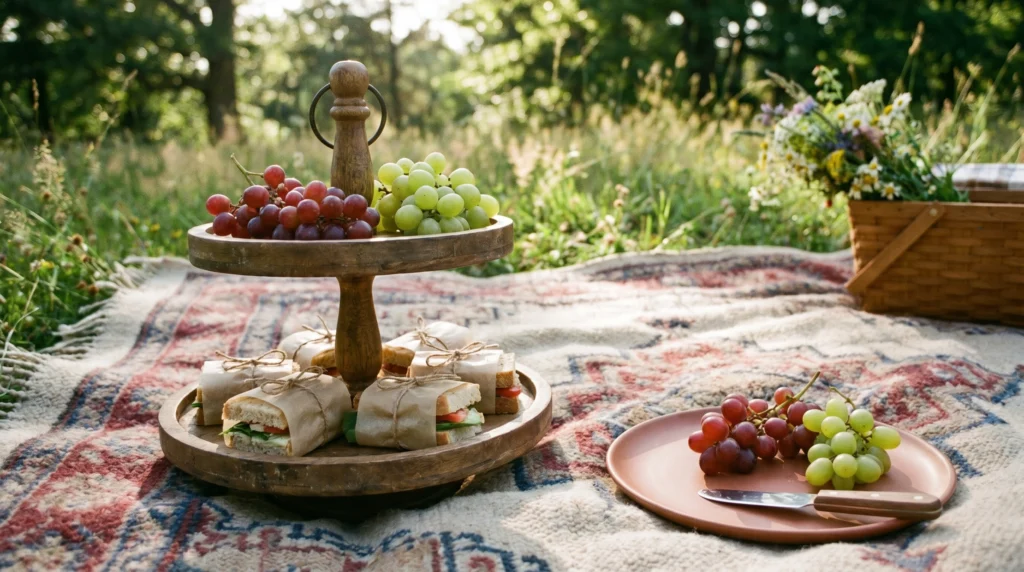
When space on the blanket is limited, go vertical. A two-tiered serving stand (even a simple collapsible wooden one) allows you to display fruit, desserts, or sandwiches without taking up the entire “table.” It adds a bit of “High Tea” elegance to a casual outdoor setting.
Look for a stand that can be disassembled for easy transport. Wood or melamine is better than ceramic because it’s less likely to chip in your bag ($15–$35). I love using the top tier for something colorful, like strawberries, and the bottom for heavier items. Mistake to avoid: putting all the weight on one side, which can cause it to tip on soft ground.
11. Retro Enamelware for a Durable Aesthetic
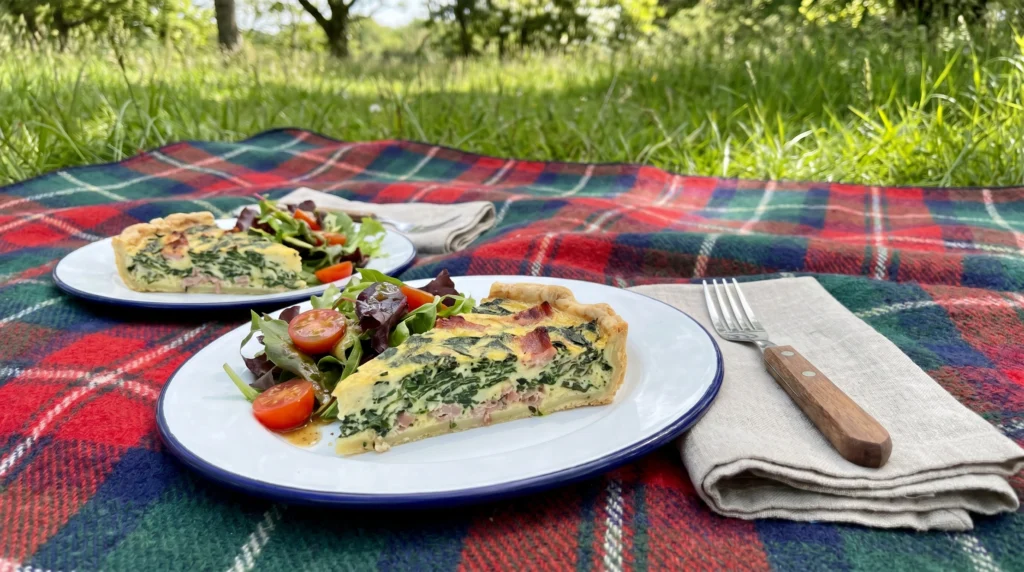
I’ve seen too many people try to use real ceramic plates at a picnic, only for one to break in the bag. On the flip side, paper plates often feel flimsy and blow away in the wind. Enamelware is the perfect middle ground—it’s virtually indestructible, has a cool retro vibe, and is heavy enough to stay put.
You can find classic white enamel with a blue or green rim for about $5–$10 per piece. They look great in photos and feel much nicer to eat off of. After the picnic, you just toss them in the dishwasher. Tip: Avoid using metal utensils on enamel if you want to prevent scratching; wood or high-quality bamboo utensils are a better match.
12. Using Wooden Crates as “Cooler Covers”
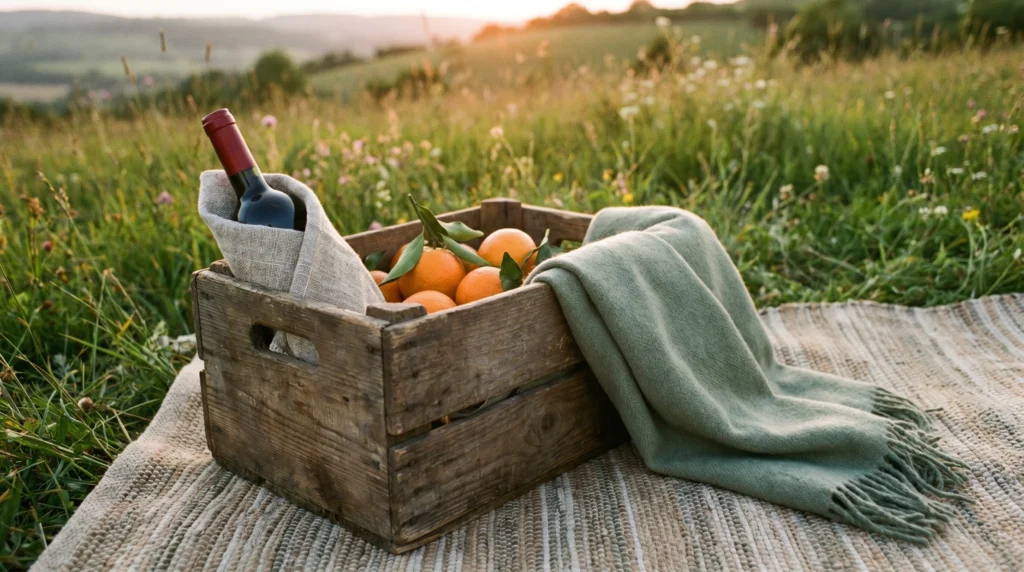
Coolers are practical but usually quite ugly. To keep your Pinterest aesthetic intact, try placing your cooler inside a wooden crate or covering it with a heavy textured throw. Alternatively, use the crate itself to carry your dry goods and then flip it over to use as a sturdy table.
I always recommend finding “nesting” crates so they don’t take up too much room in the car. You can find these at craft stores for $15. My personal trick is to line the crate with a pretty fabric so even if it’s just holding bags of chips, it looks intentional. Price: $10–$20.
13. The “Tray Table” for Drinks
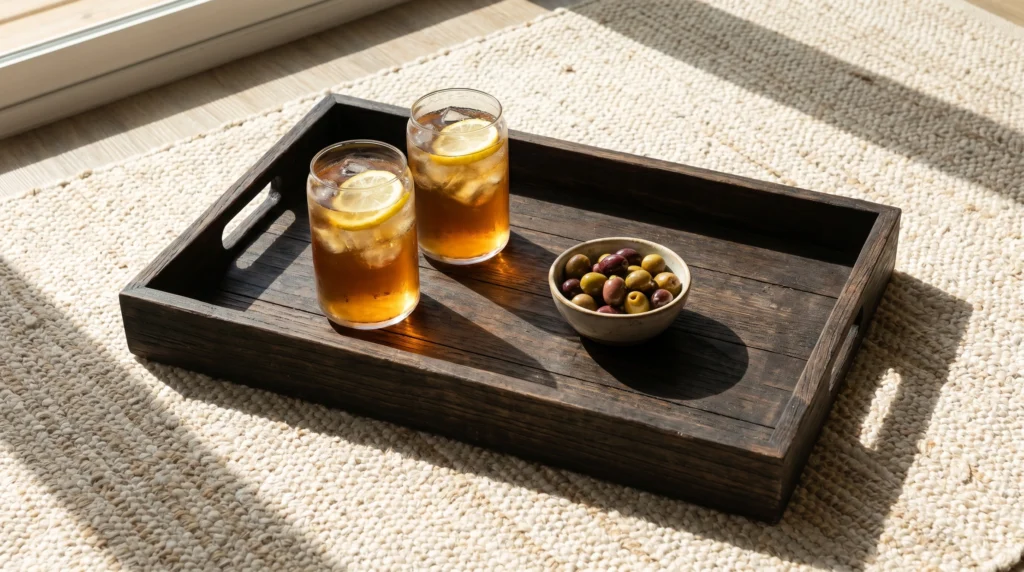
Spilling a drink is the fastest way to ruin a picnic mood. A simple wooden tray with a lip provides a flat, stable surface for glasses and bottles. It’s much more reliable than trying to balance a glass on a blanket.
Choose a tray with handles for easy carrying ($15–$30). If you want to be extra safe, look for a “wine stake” (a little wooden post you stick in the ground that holds a glass), but a tray is more versatile. I always recommend placing the tray in the center of the group so everyone can reach it. Tip: If the ground is very soft, place a flat book under the tray to keep it from sinking.
14. Hanging Ribbons or Bunting for Tree Picnics
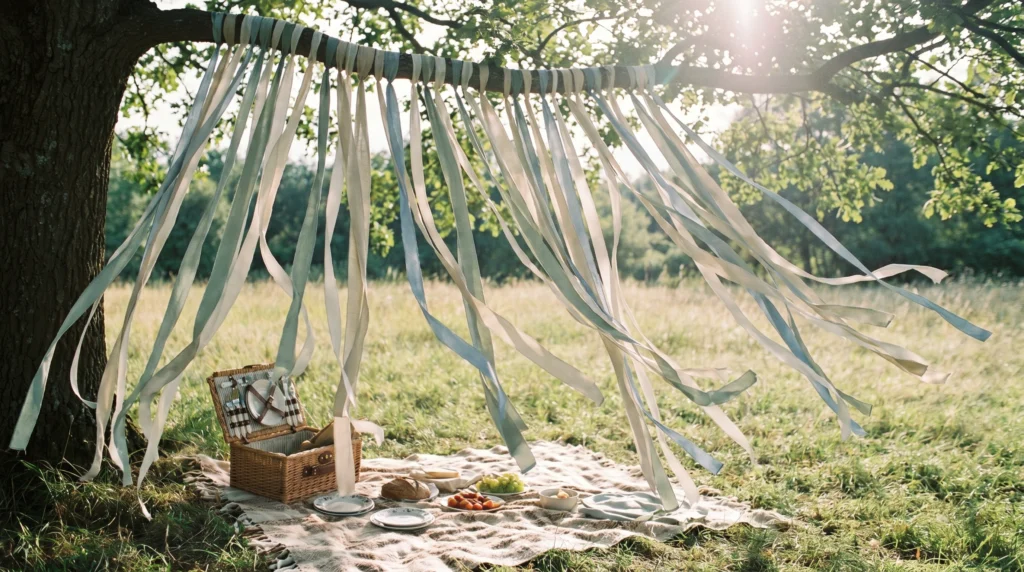
If you’re lucky enough to be under a big oak or willow tree, use the branches! Stringing up some simple fabric bunting or long, flowing ribbons in sage or lavender adds a whimsical, “secret garden” feel to the space. It helps define your area and makes it feel like a private celebration.
You can make your own bunting from fabric scraps or buy a pre-made strand for $10–$15. Don’t use plastic; fabric looks much better in the wind and feels more premium. Make sure to use twine that won’t damage the bark, and always take it down before you leave. Mistake to avoid: hanging things too low where people will walk into them.
15. Cooling Buckets with Style
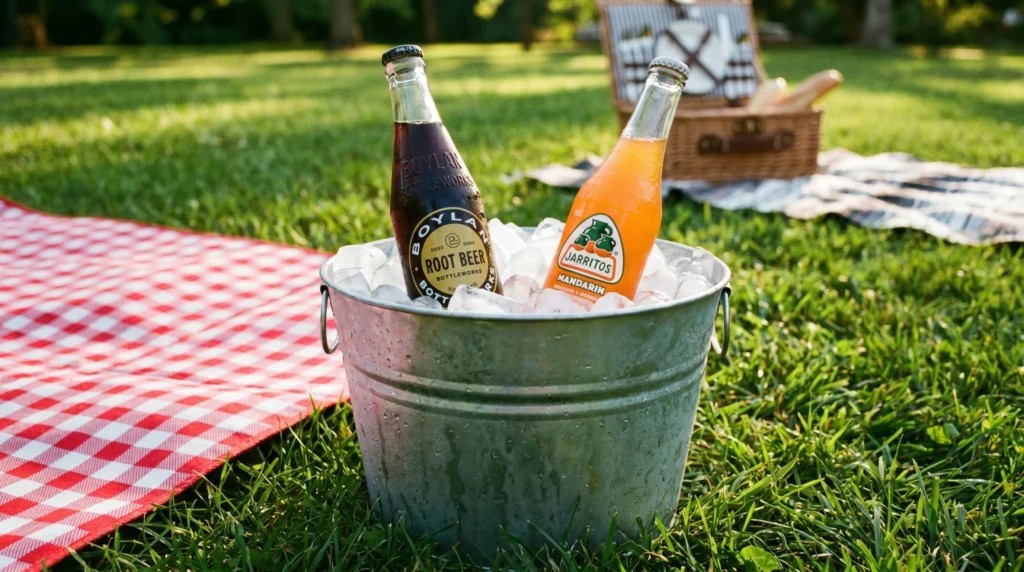
If you’re bringing several drinks, a bag of ice in a plastic bag isn’t going to look great. Instead, bring a galvanized metal bucket or a large ceramic crock. Fill it with ice and nestle your drinks inside. It looks much more like a styled event and keeps things colder for longer.
A basic galvanized bucket is only $10–$15 at most hardware or craft stores. I love the look of the metal against the soft textures of the blankets. Tip: To prevent the outside of the bucket from getting everything wet with condensation, set it on a small towel or slightly off the main blanket.
16. Cloth Napkins for a Touch of Home
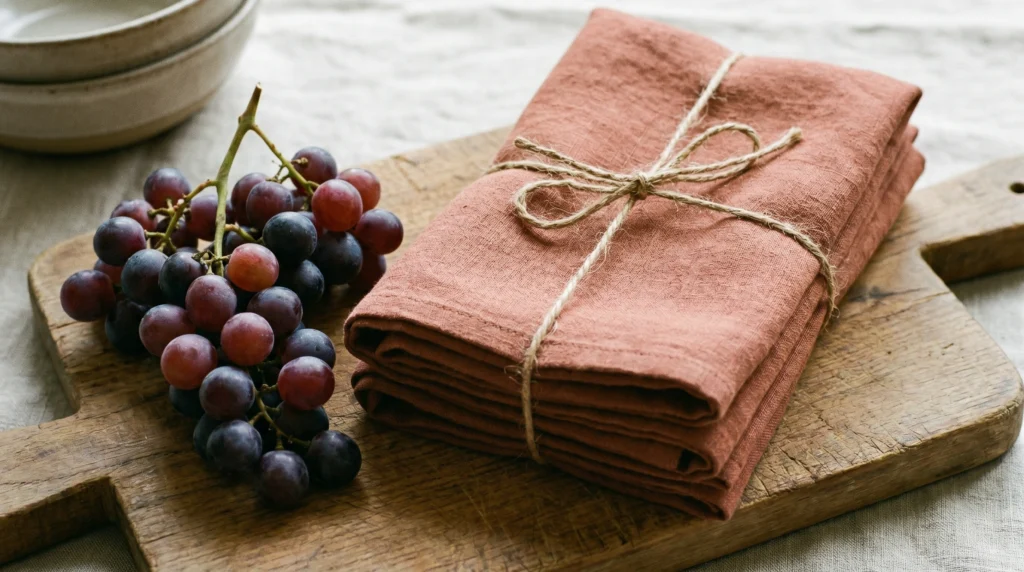
Paper napkins are fine for a quick burger, but for a “perfect day out,” cloth napkins make a huge difference. They don’t blow away, they feel better on your hands, and they add a necessary layer of color and texture to your setup.
I personally love linen or heavy cotton napkins in a neutral tone like oatmeal or dusty rose ($20 for a set of 4). If you don’t want to buy new ones, just use some old fabric and cut it into squares with pinking shears for a “boho” fringed edge. Tip: Bring a small “wet bag” (like a Ziploc or a reusable silicone bag) to put the dirty napkins in so they don’t stain your basket on the way home.
17. The “Portable Library” Vibe
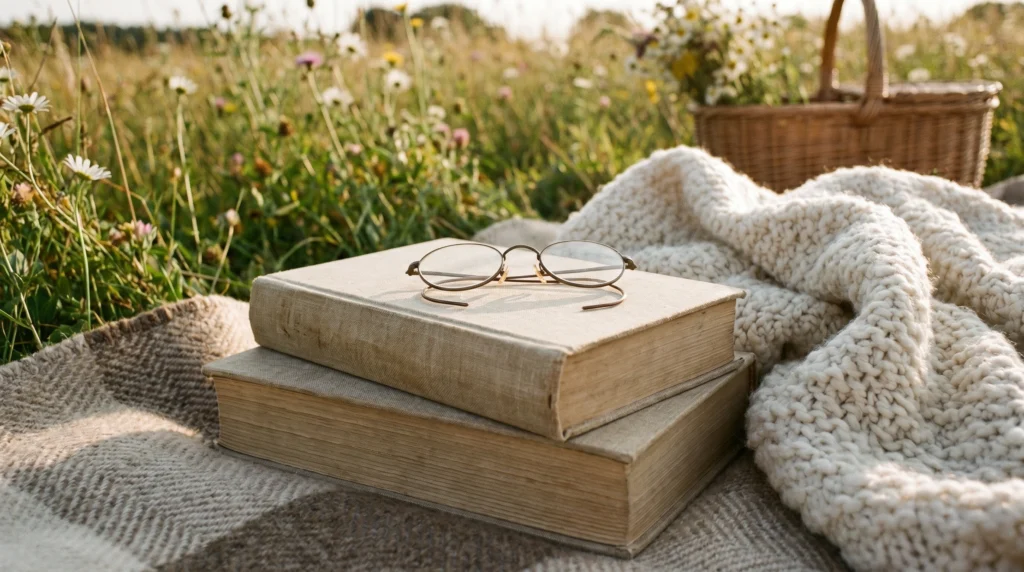
Picnics aren’t just for eating; they’re for relaxing. I love bringing a few “coffee table” style books or magazines and stacking them on the blanket. Not only are they great for reading, but they also act as a weight for the corners of your blanket if it’s windy.
Choose books with beautiful covers that match your color scheme (yes, I’m that person!). It creates a very relaxed, intellectual vibe. This costs $0 since you’re using what you have. A common mistake is bringing books you’re “too” precious about; stick to paperbacks or older hardcovers that can handle a little bit of grass.
18. Hanging Macramé or Dreamcatchers
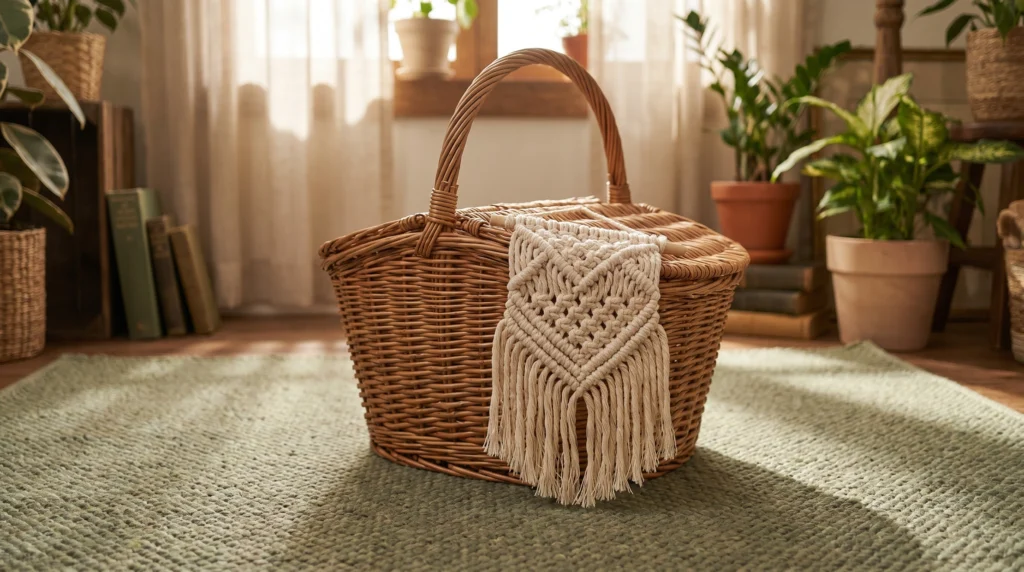
For a “boho” or “aesthetic” picnic, adding a piece of macramé can be the finishing touch. You can hang it from a tree or even prop it up against your picnic basket. It adds a handcrafted, artisanal feel that contrasts beautifully with the natural environment.
You can find small macramé wall hangings for $15–$25. I prefer the cream or off-white versions as they look best against green foliage. It’s an easy way to make the space feel “decorated” without much effort. Tip: Keep it small; you don’t want something so big that it becomes a hassle to carry.
19. Using a Lace Teepee for Shade and Privacy
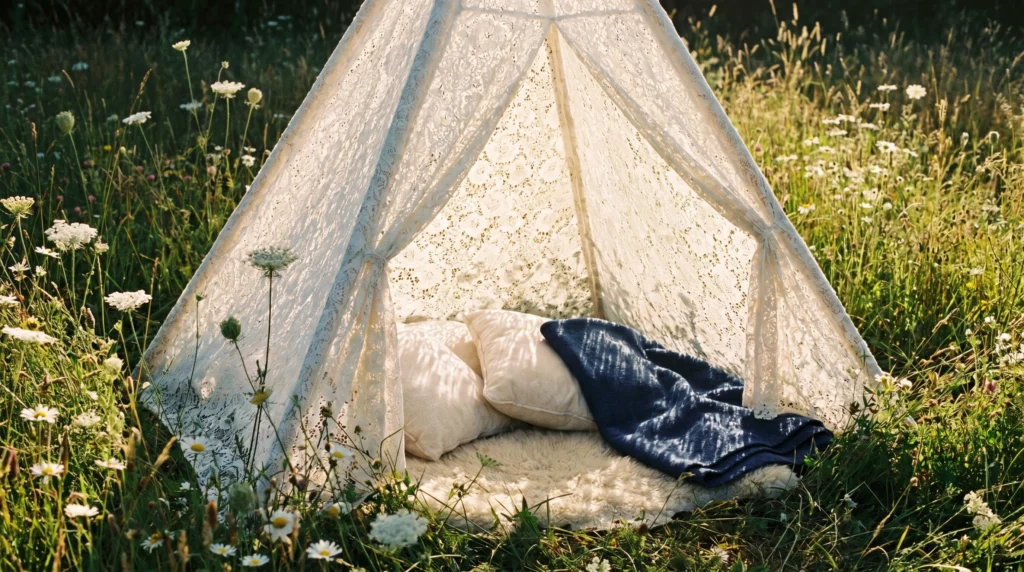
If you have kids or just want a very romantic “nook,” a small lace teepee is an incredible addition. It provides a bit of shade and a sense of privacy while still letting the breeze flow through. It’s the ultimate Pinterest picnic setup.
You can buy collapsible teepees for $40–$70, or make a very simple version with three long sticks and a lace tablecloth. I always suggest the lace over solid fabric because it looks much lighter and more “airy” outdoors. Mistake to avoid: using this on a very windy day unless you have stakes to pin it down.
20. The “Lived-In” Finishing Touches
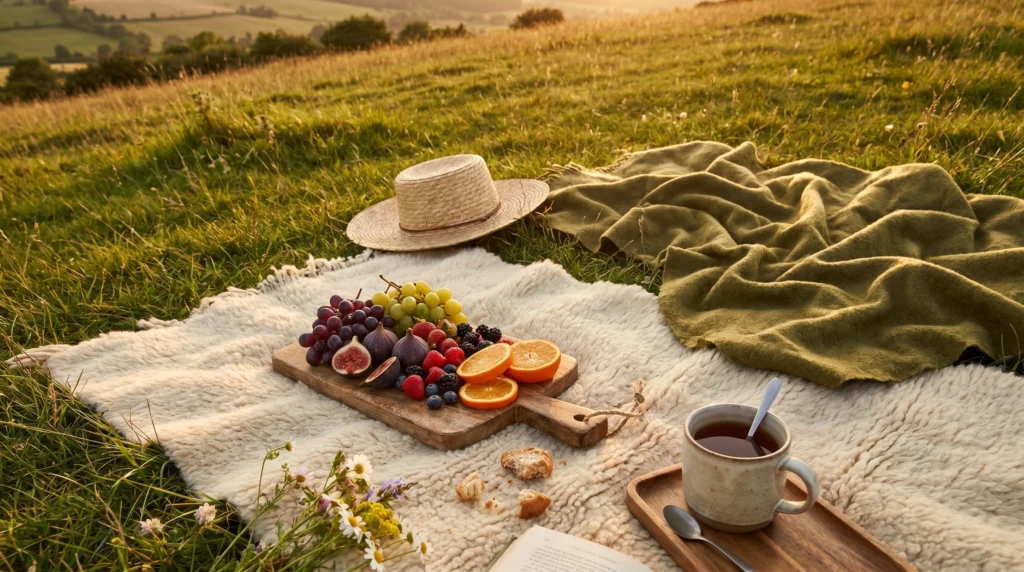
The difference between a “staged” photo and a “perfect day” is the lived-in details. Leave your sun hat on the rug. Have a half-peeled orange on the board. Let a throw blanket look a little “tossed” rather than perfectly folded. These small things make the space feel welcoming and real.
To achieve this, don’t overthink the placement. Once you set everything down, take a step back and see if it looks too stiff. If it does, “muss it up” a little. This costs nothing but makes the biggest impact on the “vibe” of the day.
Conclusion
At the end of the day, a “perfect” picnic isn’t about having the most expensive gear or a perfectly symmetrical cheese board. It’s about the feeling of being away from your screens, breathing in fresh air, and actually enjoying the company you’re with. In my experience, when you take ten extra minutes to style the space with a few Outdoor Picnic Ideas for a Perfect Day Out, you aren’t just doing it for the photos—you’re doing it because a comfortable, beautiful environment helps everyone relax.
Whether you just try the “layered rug” trick or go all out with a “vintage suitcase table,” start small. Pick one or two ideas that speak to you and build from there. You’ll be surprised at how much a simple tray or a soft pillow can change your entire afternoon. A stylish home doesn’t stop at your front door; it goes wherever you decide to lay your blanket.
Which of these ideas are you trying first for your next outing? I’d love to hear your favorite picnic hacks in the comments—drop a note and let’s chat!
FAQs
How do I keep ants and bugs away from my picnic setup?
The best way to handle bugs is a two-step approach: prevention and distraction. First, try to avoid setting up near standing water or long, unkept grass where mosquitoes and ants thrive. Second, I always recommend the “decoy” trick—place a small piece of fruit or a bit of jam about ten feet away from your blanket to draw ants in that direction. Also, using covered containers for your food is much more effective than trying to swat bugs away all afternoon.
What’s the best way to transport heavy picnic items like tables or crates?
If you’re planning on using larger items like pallets or wooden crates, invest in a collapsible folding wagon. They are a total lifesaver for “decor-heavy” picnics. You can load all your rugs, pillows, and crates into the wagon and pull it easily from the car to your spot. If you don’t have a wagon, stick to the “vintage suitcase” idea mentioned in the post, as it serves as both a container and furniture, saving you an extra trip to the car.
How do I prevent my picnic blanket from getting wet on damp grass?
Never rely on a standard fabric blanket alone. Even if the grass feels dry, moisture often seeps through over time. The most reliable method is to use a waterproof tarp or a dedicated “outdoor” blanket with a PEVA backing as your bottom layer. If you want to keep it stylish, simply hide the ugly tarp by layering your pretty cotton or wool rugs directly on top of it. This creates a moisture barrier that keeps your pillows and clothes dry all day.
What are some “wind-proof” decor tips for a picnic?
Wind is the enemy of a styled picnic! To keep things from blowing away, use heavy “anchors” on the corners of your blankets—think heavy books, your picnic basket, or even smooth decorative stones. Avoid using paper plates or light plastic cups; instead, opt for enamelware or heavy-duty melamine that has some weight to it. If you’re using napkins, tuck them under a plate or use a “napkin weight” like a small, clean river stone to keep them from flying off into the bushes.