Have you ever scrolled through Pinterest, saw a gorgeous picnic setup with flowing linens and perfect lighting, and then looked at your own old moth-eaten blanket and thought, “Yeah, that’s never going to be me”? I’ve been there. For a long time, I felt stuck because I thought a “real” aesthetic picnic required a massive budget or a professional event planner. It’s easy to feel overwhelmed by those perfectly staged photos that look like they belong in a magazine rather than a public park.
But here is the truth: you don’t need a huge budget to create something beautiful. In my experience, the most memorable outdoor gatherings aren’t about how much money you spent, but about the small, thoughtful details that make the space feel warm and inviting. By using these 15 DIY picnic ideas on a budget, you can create a setup that feels cozy, personal, and full of character. We are going to look at 25 specific ways to use what you have (and a few thrifted finds) to make your next outdoor hang feel like a total retreat. Let’s get into the ideas that will actually work for your real life.
1. The Low-Profile Pallet Table
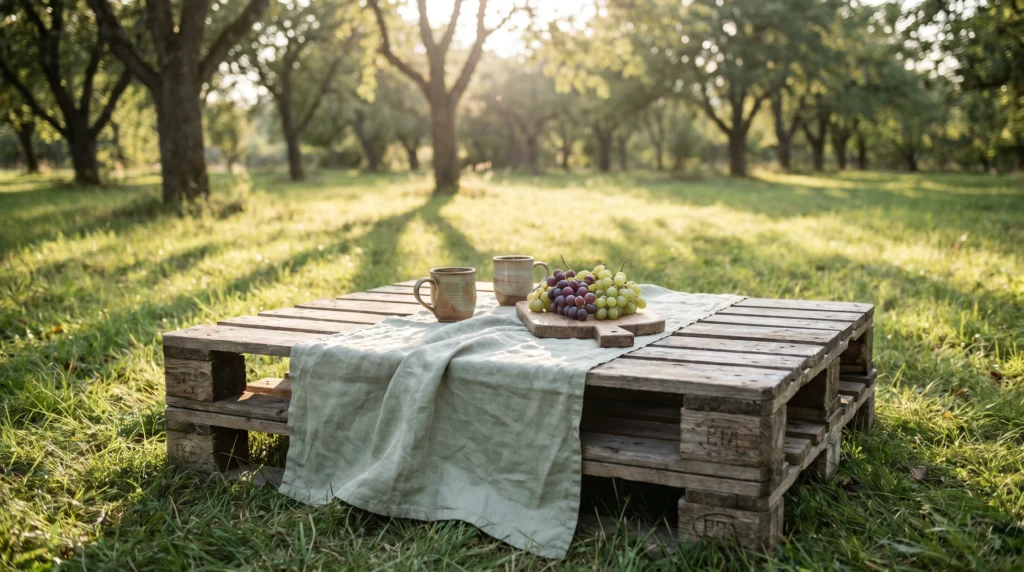
There is something about a low table that instantly changes the vibe of a picnic from “sitting on the grass” to “dining alfresco.” It provides a solid surface for your drinks so nothing spills, and it defines the “room” in an open field.
I always recommend checking behind local hardware or grocery stores—they usually have wooden pallets they are just going to throw away. Grab one, give it a quick sand to avoid splinters, and you have a table. If you want it to look a bit more polished, you can throw a simple linen runner over the middle. It makes the whole setup feel like a real dining room outdoors.
Tip: Make sure the pallet is heat-treated (marked with “HT”) rather than chemically treated for safety.
Budget: $0–$10 (for sandpaper).
2. Layered Vintage Quilts for Maximum Comfort
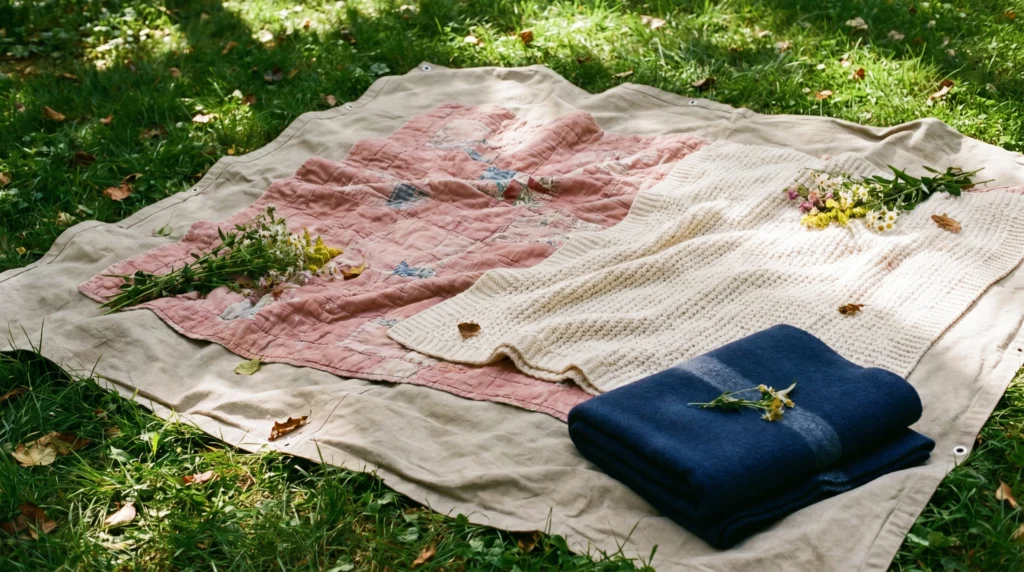
The biggest mistake I see people make is just bringing one thin blanket. It’s uncomfortable, and it looks a bit flat. Layering is the secret sauce to that cozy Pinterest look.
Go to a local thrift store and look for old cotton quilts or woven throws. Start by laying down a waterproof tarp (or a heavy canvas drop cloth), then layer your prettiest quilts on top at slightly different angles. This adds visual depth and makes the ground much softer to sit on for hours. You can usually find great quilts for under $15.
Tip: Don’t worry if the patterns don’t match perfectly; a bit of “clashing” actually makes it look more intentional and less like a store display.
Budget: $10–$25.
3. Repurposed Mason Jar Lanterns
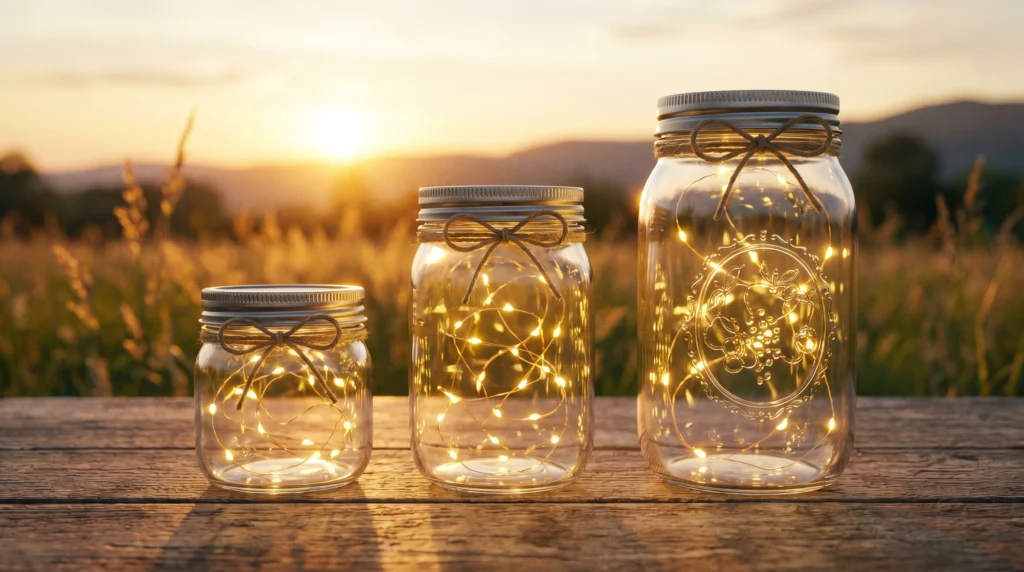
Lighting makes everything feel warmer, especially if your picnic is heading into the golden hour. Standard flashlights are too harsh, and phone lights just ruin the mood.
Take a few empty jam or mason jars and drop in some battery-operated tea lights or a small string of fairy lights. You can even wrap a bit of twine around the neck of the jar to create a handle. What I personally love about this is that it’s wind-proof—your “candles” won’t blow out the second a breeze hits.
Tip: Add a handful of dried sand or small pebbles to the bottom of the jar to keep it from tipping over if someone bumps the table.
Budget: $5–$15.
4. DIY Fabric Bunting for a Pop of Color
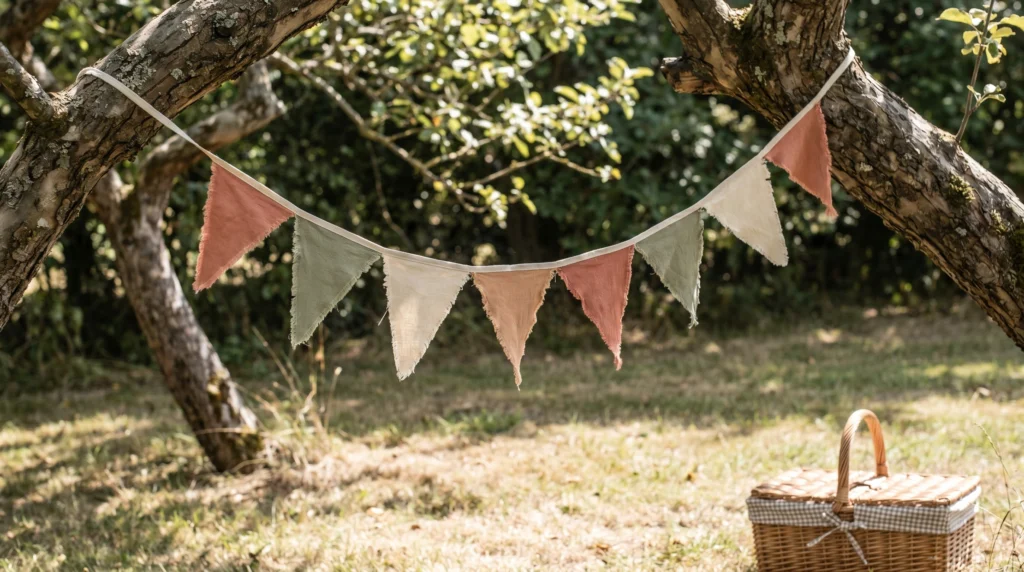
A lot of people skip vertical decor, but adding something that catches the breeze really brings the space to life. It’s a simple way to mark your spot without being loud about it.
You don’t need a sewing machine for this. Get some fabric scraps in muted tones—like olive, terracotta, or soft blue—and cut them into triangles. Use a hot glue gun to attach them to a long piece of jute twine. String it between two trees or even drape it across the front of your picnic basket.
Tip: Use pinking shears (the ones that cut zig-zags) to prevent the fabric from fraying without having to sew the edges.
Budget: $5 or free if you use old clothes.
5. Upcycled Floor Cushions
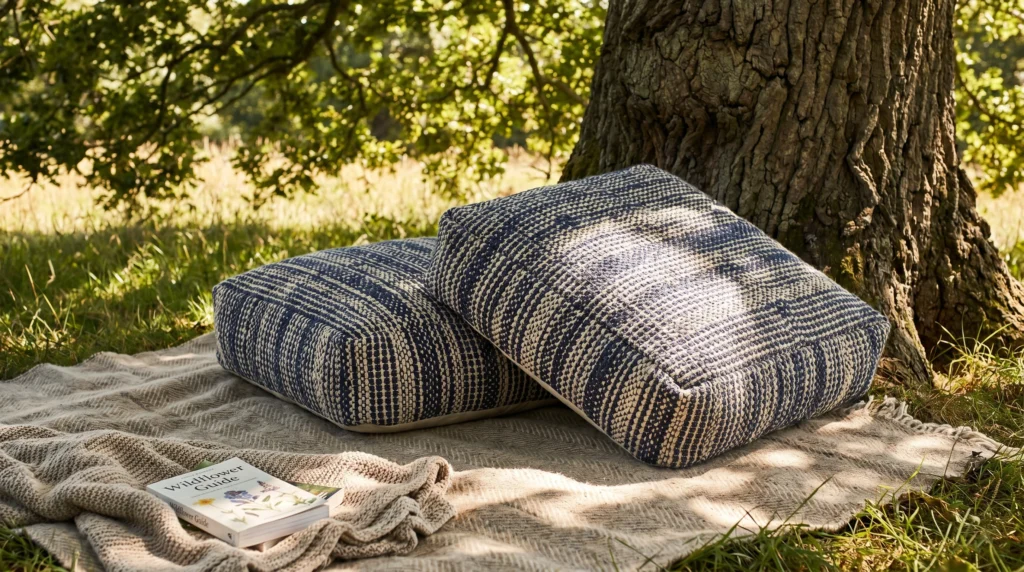
Sitting on the ground gets old after thirty minutes if you don’t have back support. I always tell my friends to bring cushions from their actual sofa, but if you want something “outdoor-only,” you can make these easily.
Find some cheap, large bed pillows at a discount store and tuck them into sturdy cotton or linen shams. If you’re feeling crafty, you can dye white pillowcases using tea or avocado pits for a beautiful, muted “earth tone” look. This gives you a place to lean back and relax properly.
Tip: Avoid satin or silk fabrics—they slide around on the grass and get stained too easily. Stick to cotton or canvas.
Budget: $8–$15 per cushion.
6. Dried Flower Arrangements in Thrifted Vases
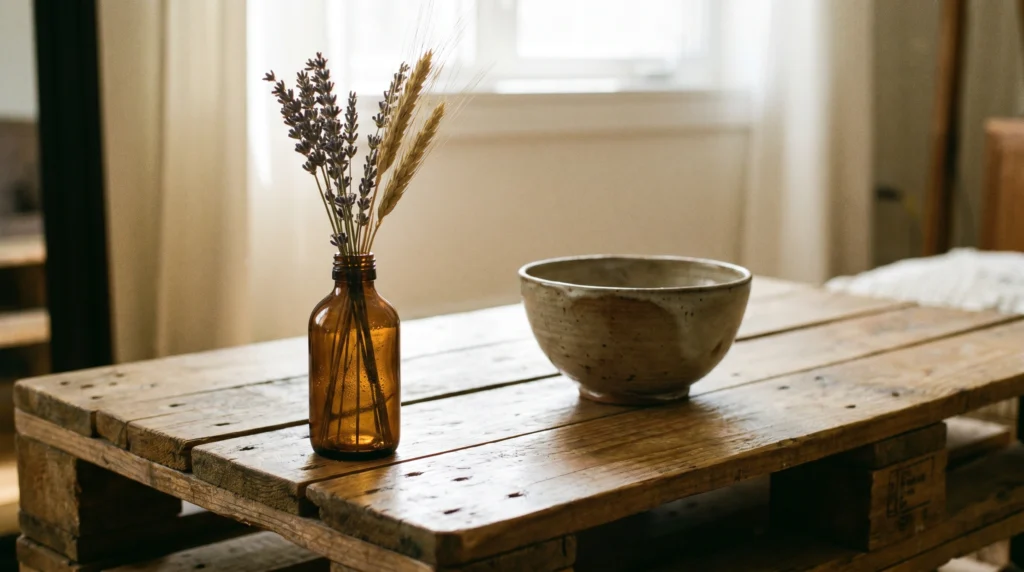
Fresh flowers are great, but they wilt the second they get hot. Dried flowers stay looking exactly the same all day long and have a much more “styled” feel.
I usually pick up a couple of small, mismatched amber glass bottles or ceramic bud vases from a thrift shop. Stick a few stems of dried lavender, eucalyptus, or even just some pretty dried grass from your backyard in them. It adds height to your table setup and smells amazing without attracting as many bees as fresh sugar-filled flowers.
Tip: Put a tiny bit of blue-tack on the bottom of the vase so it doesn’t tip over on the uneven pallet table.
Budget: $3–$10.
7. Fabric Scrap Reusable Napkins
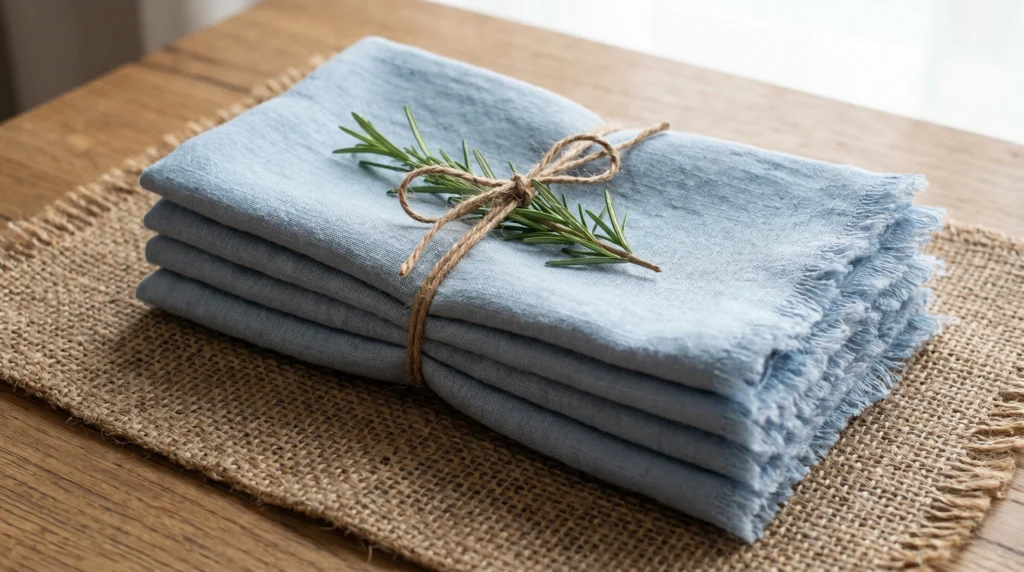
Paper napkins are fine, but they blow away and feel a bit “fast food.” Real fabric napkins make the meal feel like an event.
Buy half a yard of linen or soft cotton from a craft store and cut it into squares. You don’t even need to hem them; the frayed edge looks very “boho” and relaxed. Roll them up and tie them with a bit of twine or a sprig of rosemary. It’s a tiny detail, but it makes a huge difference in how the picnic feels.
Tip: Choose a darker color like navy or forest green so that any accidental wine or berry stains aren’t as obvious.
Budget: $5–$10 for a set of four.
8. Woven Basket as a Side Table
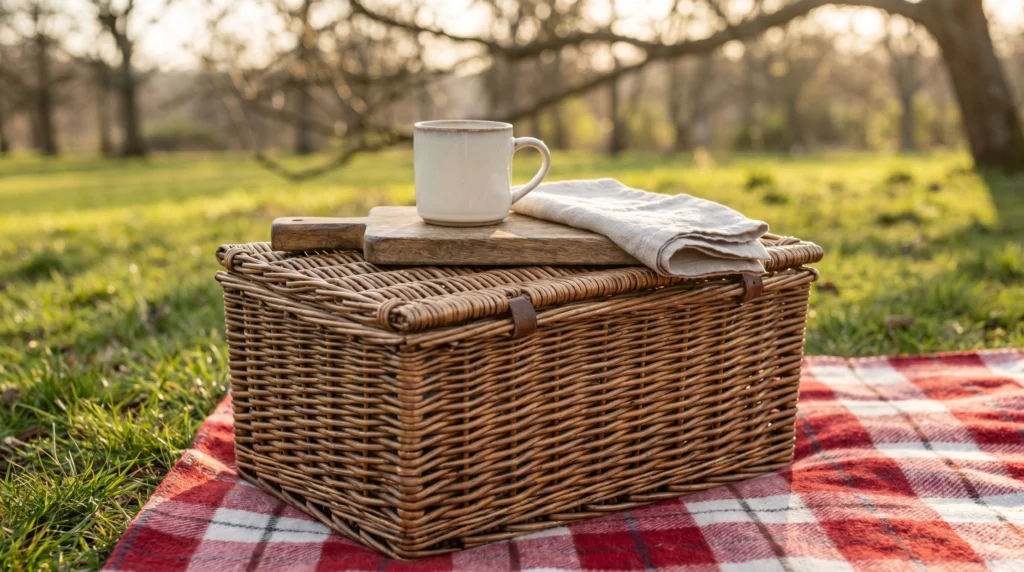
If you don’t want to lug a pallet to the park, your picnic basket can do double duty. Most people just empty the basket and shove it to the side, which is a missed opportunity.
Flip your basket over or use the lid as a flat surface. It’s the perfect height for a candle or a small plate of snacks. If your basket has a curved top, just place a small wooden cutting board on top of it to level it out. This keeps your “decor” and your “utility” items working together.
Tip: A heavy-duty wicker basket works best for this; avoid the flimsy collapsible ones if you want to use them as a table.
Budget: $0 (if you already have a basket) or $15 thrifted.
9. Macramé Bottle Holders
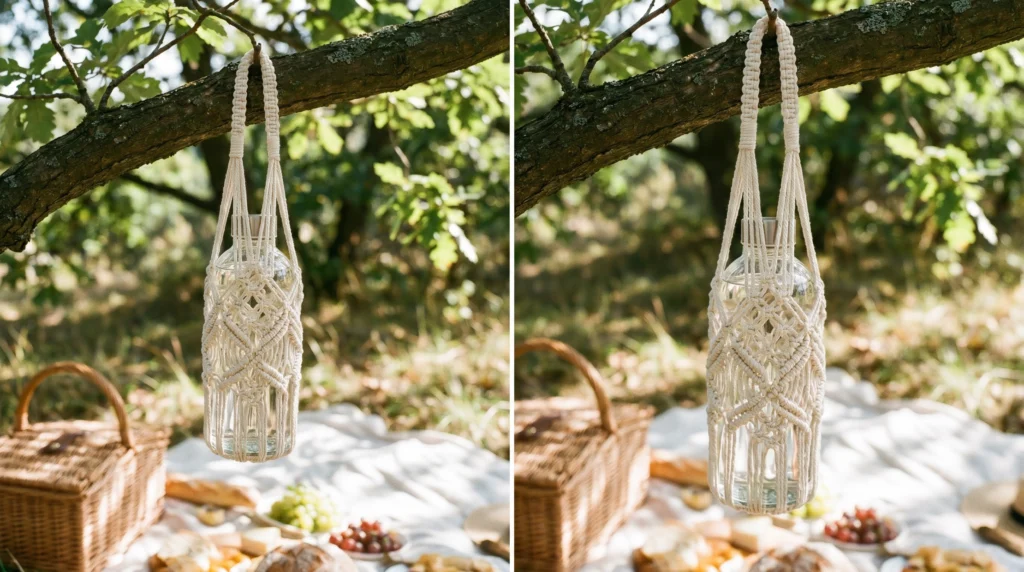
Instead of just having plastic water bottles rolling around on the blanket, give them a “home.” It looks much cleaner and keeps things organized.
You can make a very simple macramé net using just cotton twine. It’s basically just a series of knots. Not only does it look great hanging from a tree branch or the side of your basket, but it also makes it easier to carry your drinks if you have to hike a bit to your picnic spot.
Tip: Use “butcher’s twine” for a clean, white look, or jute for a more rustic, brown texture.
Budget: $2–$5.
10. Hand-Painted Picnic “Area” Rug

Sometimes a blanket isn’t enough to define the space, especially if you have a larger group. An “area rug” made of canvas can ground the whole setup.
Buy a large canvas drop cloth from the paint section of a hardware store. Use some leftover house paint or cheap acrylics to paint a simple border or some large, abstract shapes in colors like muted terracotta or olive. It’s much more durable than a standard blanket and creates a clear “zone” for your picnic.
Tip: Give the canvas a wash in the machine after you paint it (and it dries!) to soften the fabric so it isn’t so stiff.
Budget: $10–$20.
11. Hanging Battery-Op Fairy Lights
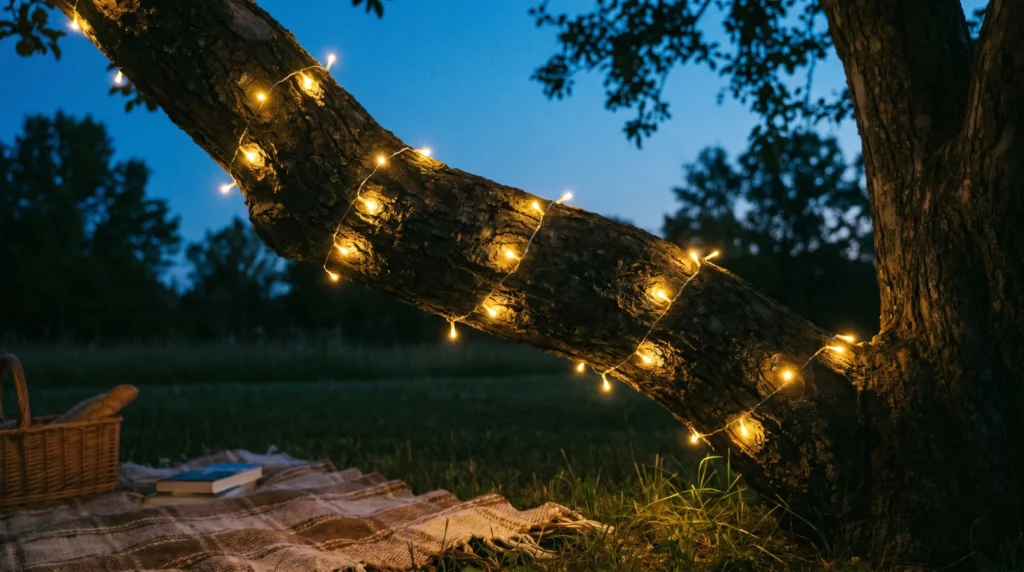
If you are picnicking under a tree, use the vertical space! Most people stay focused on the ground, but the “ceiling” of your picnic is just as important.
Loop some battery-powered fairy lights through the lower branches of the tree. It creates this magical, canopy-like feel that is completely different from a standard picnic. What I personally love about this is that it defines the “room” without taking up any floor space.
Tip: Get the “warm white” lights rather than the “cool white”—the cool ones can feel a bit like a hospital or a parking lot.
Budget: $10–$15.
12. DIY Charcuterie Board from Scrap Wood
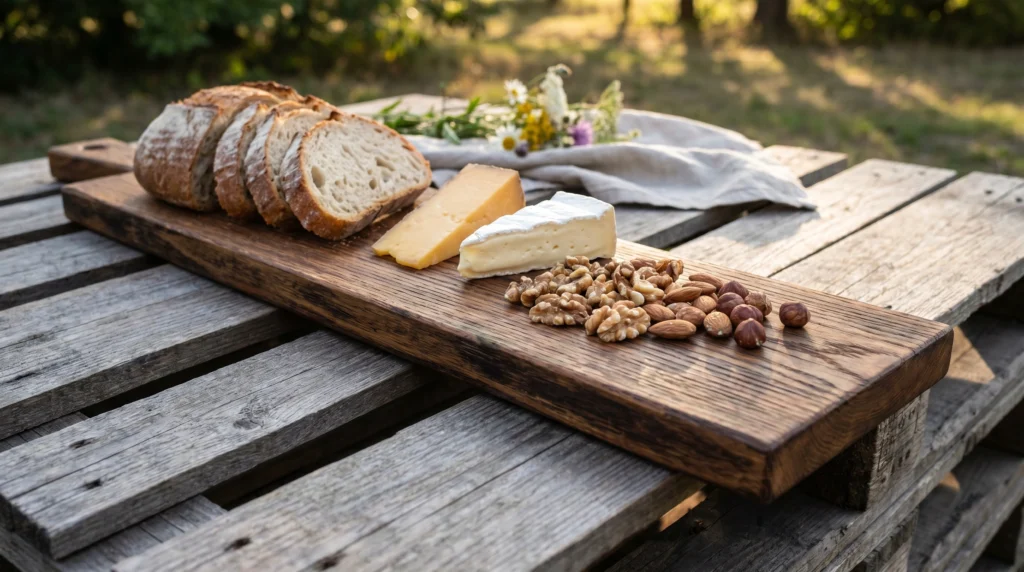
You don’t need a $50 walnut board to have a fancy cheese plate. A simple piece of wood can look just as good if you prep it right.
Find a flat piece of scrap wood (pine or oak works well). Sand the edges until they are perfectly smooth and rounded. Rub it down with food-grade mineral oil to protect it. It’s a great way to serve food that feels much more “home-decor” focused than using plastic containers.
Tip: Avoid using plywood or MDF as these contain glues that aren’t food-safe.
Budget: $0–$5.
13. Boho Lace Tablecloth Overlay
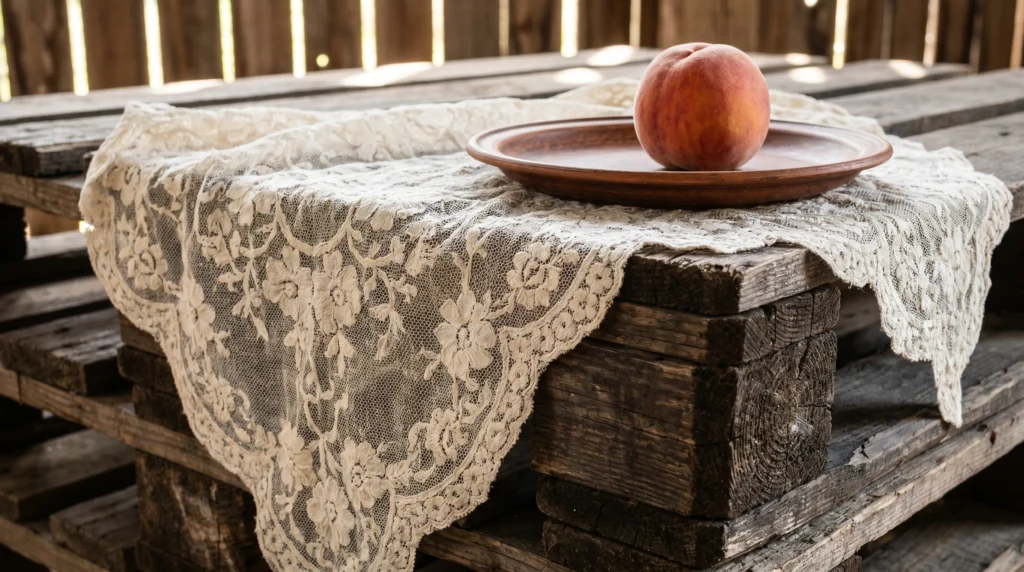
If your base blanket or pallet table looks a little too plain, a lace overlay is the fastest way to add a “vintage” or “boho” feel.
Look for lace curtains or old lace tablecloths at thrift stores. You don’t need to cover the whole area—just draping it over a corner of the table or a section of the blanket adds a delicate texture that looks incredible in photos. It’s light, easy to pack, and adds that “Pinterest” layer without any effort.
Tip: If the lace is too white and looks “cheap,” soak it in a pot of black tea for 10 minutes to give it an antique, off-white tint.
Budget: $5–$10.
14. Lavender Sprig Place Settings
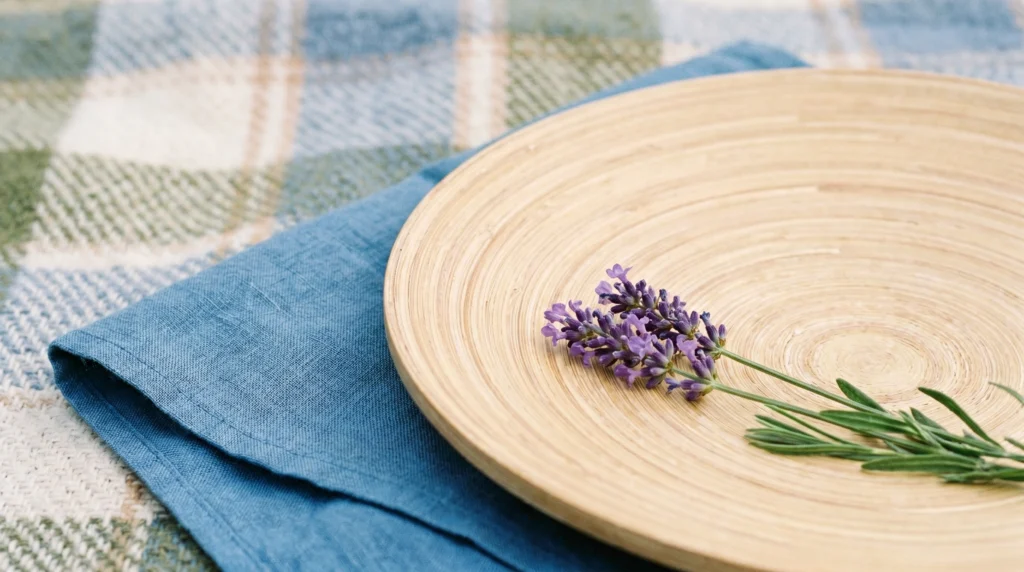
If you are having a picnic for a special occasion, like a birthday or a date, a place setting makes it feel official.
Even if you’re just using compostable bamboo plates, place a single sprig of lavender or a dried leaf on top of each napkin. It’s a 10-second DIY that costs nothing if you have a garden, but it tells your guest that you actually put thought into the setup. I always recommend this to anyone who wants to impress without spending a dime.
Tip: If you don’t have lavender, a simple eucalyptus leaf or even a pretty sprig of pine works just as well.
Budget: $0.
15. Repurposed Wine Crates for Height
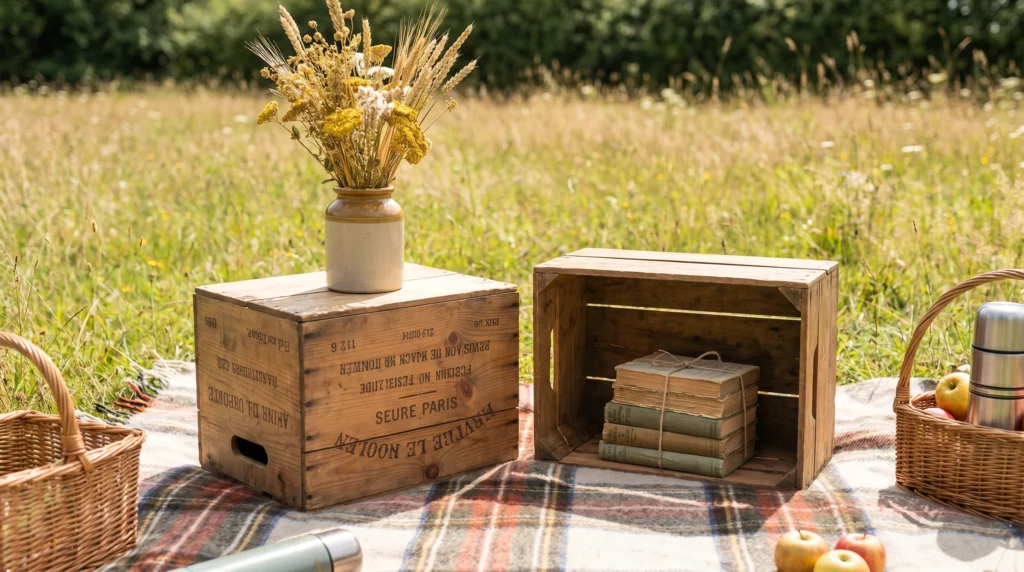
One of the secrets to a good “aesthetic” is varying the heights of your objects. If everything is at the same level, the eye gets bored.
Grab a couple of wooden wine crates (many liquor stores will give these away or sell them for $5). Use one to hold your taller drinks and another to prop up your flower vase. It creates a “landscape” on your table that feels much more professional.
Tip: You can also use these crates to carry all your gear to the picnic, then flip them over to use as decor once you arrive.
Budget: $0–$10.
Conclusion
Creating a beautiful outdoor space is more about the atmosphere than the price tag. I’ve found that when I stop worrying about having everything match perfectly and start focusing on textures, lighting, and small personal touches, the space feels much more alive. Whether you are using a pallet you found for free or some thrifted glassware, these 15 DIY picnic ideas on a budget prove that style is accessible to everyone.
The best part about these ideas is that they are modular. You don’t have to do all 25 at once! Start with just two or three—maybe the layered blankets and the mason jar lanterns—and see how much it changes the mood. A stylish home (or a stylish picnic) is built over time through thoughtful choices, not a single massive purchase.
So, which of these ideas are you going to try for your next park hang? Are you team “Pallet Table” or team “Layered Quilts”? Drop it in the comments below—I’d love to know what your dream setup looks like!
FAQs
How do I keep my picnic setup from getting dirty on the grass?
In my experience, the biggest mistake people make is putting their “pretty” blankets directly on the damp grass. Always start with a moisture barrier. You can use a cheap plastic tarp or a heavy-duty canvas drop cloth from a hardware store as your base layer. This keeps the moisture from seeping through to your vintage quilts and keeps everything much cleaner for the walk back to the car.
What is the best way to transport a “styled” picnic without everything breaking?
The key is “nested” packing. Use your soft items, like cushions and blankets, to wrap around your more fragile items like glassware and vases inside your picnic basket or wine crates. I also recommend using small plastic bins inside your crates to keep food separate from decor, so you don’t end up with olive oil on your favorite lace overlay.
How can I make a picnic comfortable for someone who has back pain?
Sitting on the ground is tough for a lot of people! If the DIY floor cushions aren’t enough, I recommend bringing along a few “low-slung” beach chairs or folding lawn chairs. You can “style” these to match your picnic by draping a matching throw blanket over the back of the chair. This way, they get the support they need without the chair looking like a plastic eyesore in your setup.
What are some good “budget-friendly” food ideas that still look aesthetic?
You don’t need expensive caviar to have a beautiful spread. Focus on “whole” foods like a loaf of crusty bread, a block of basic cheddar, some seasonal fruit like grapes or peaches, and maybe some nuts. When you take these out of their plastic grocery packaging and put them on a wooden board or in a ceramic bowl, they immediately look much more high-end and appetizing.