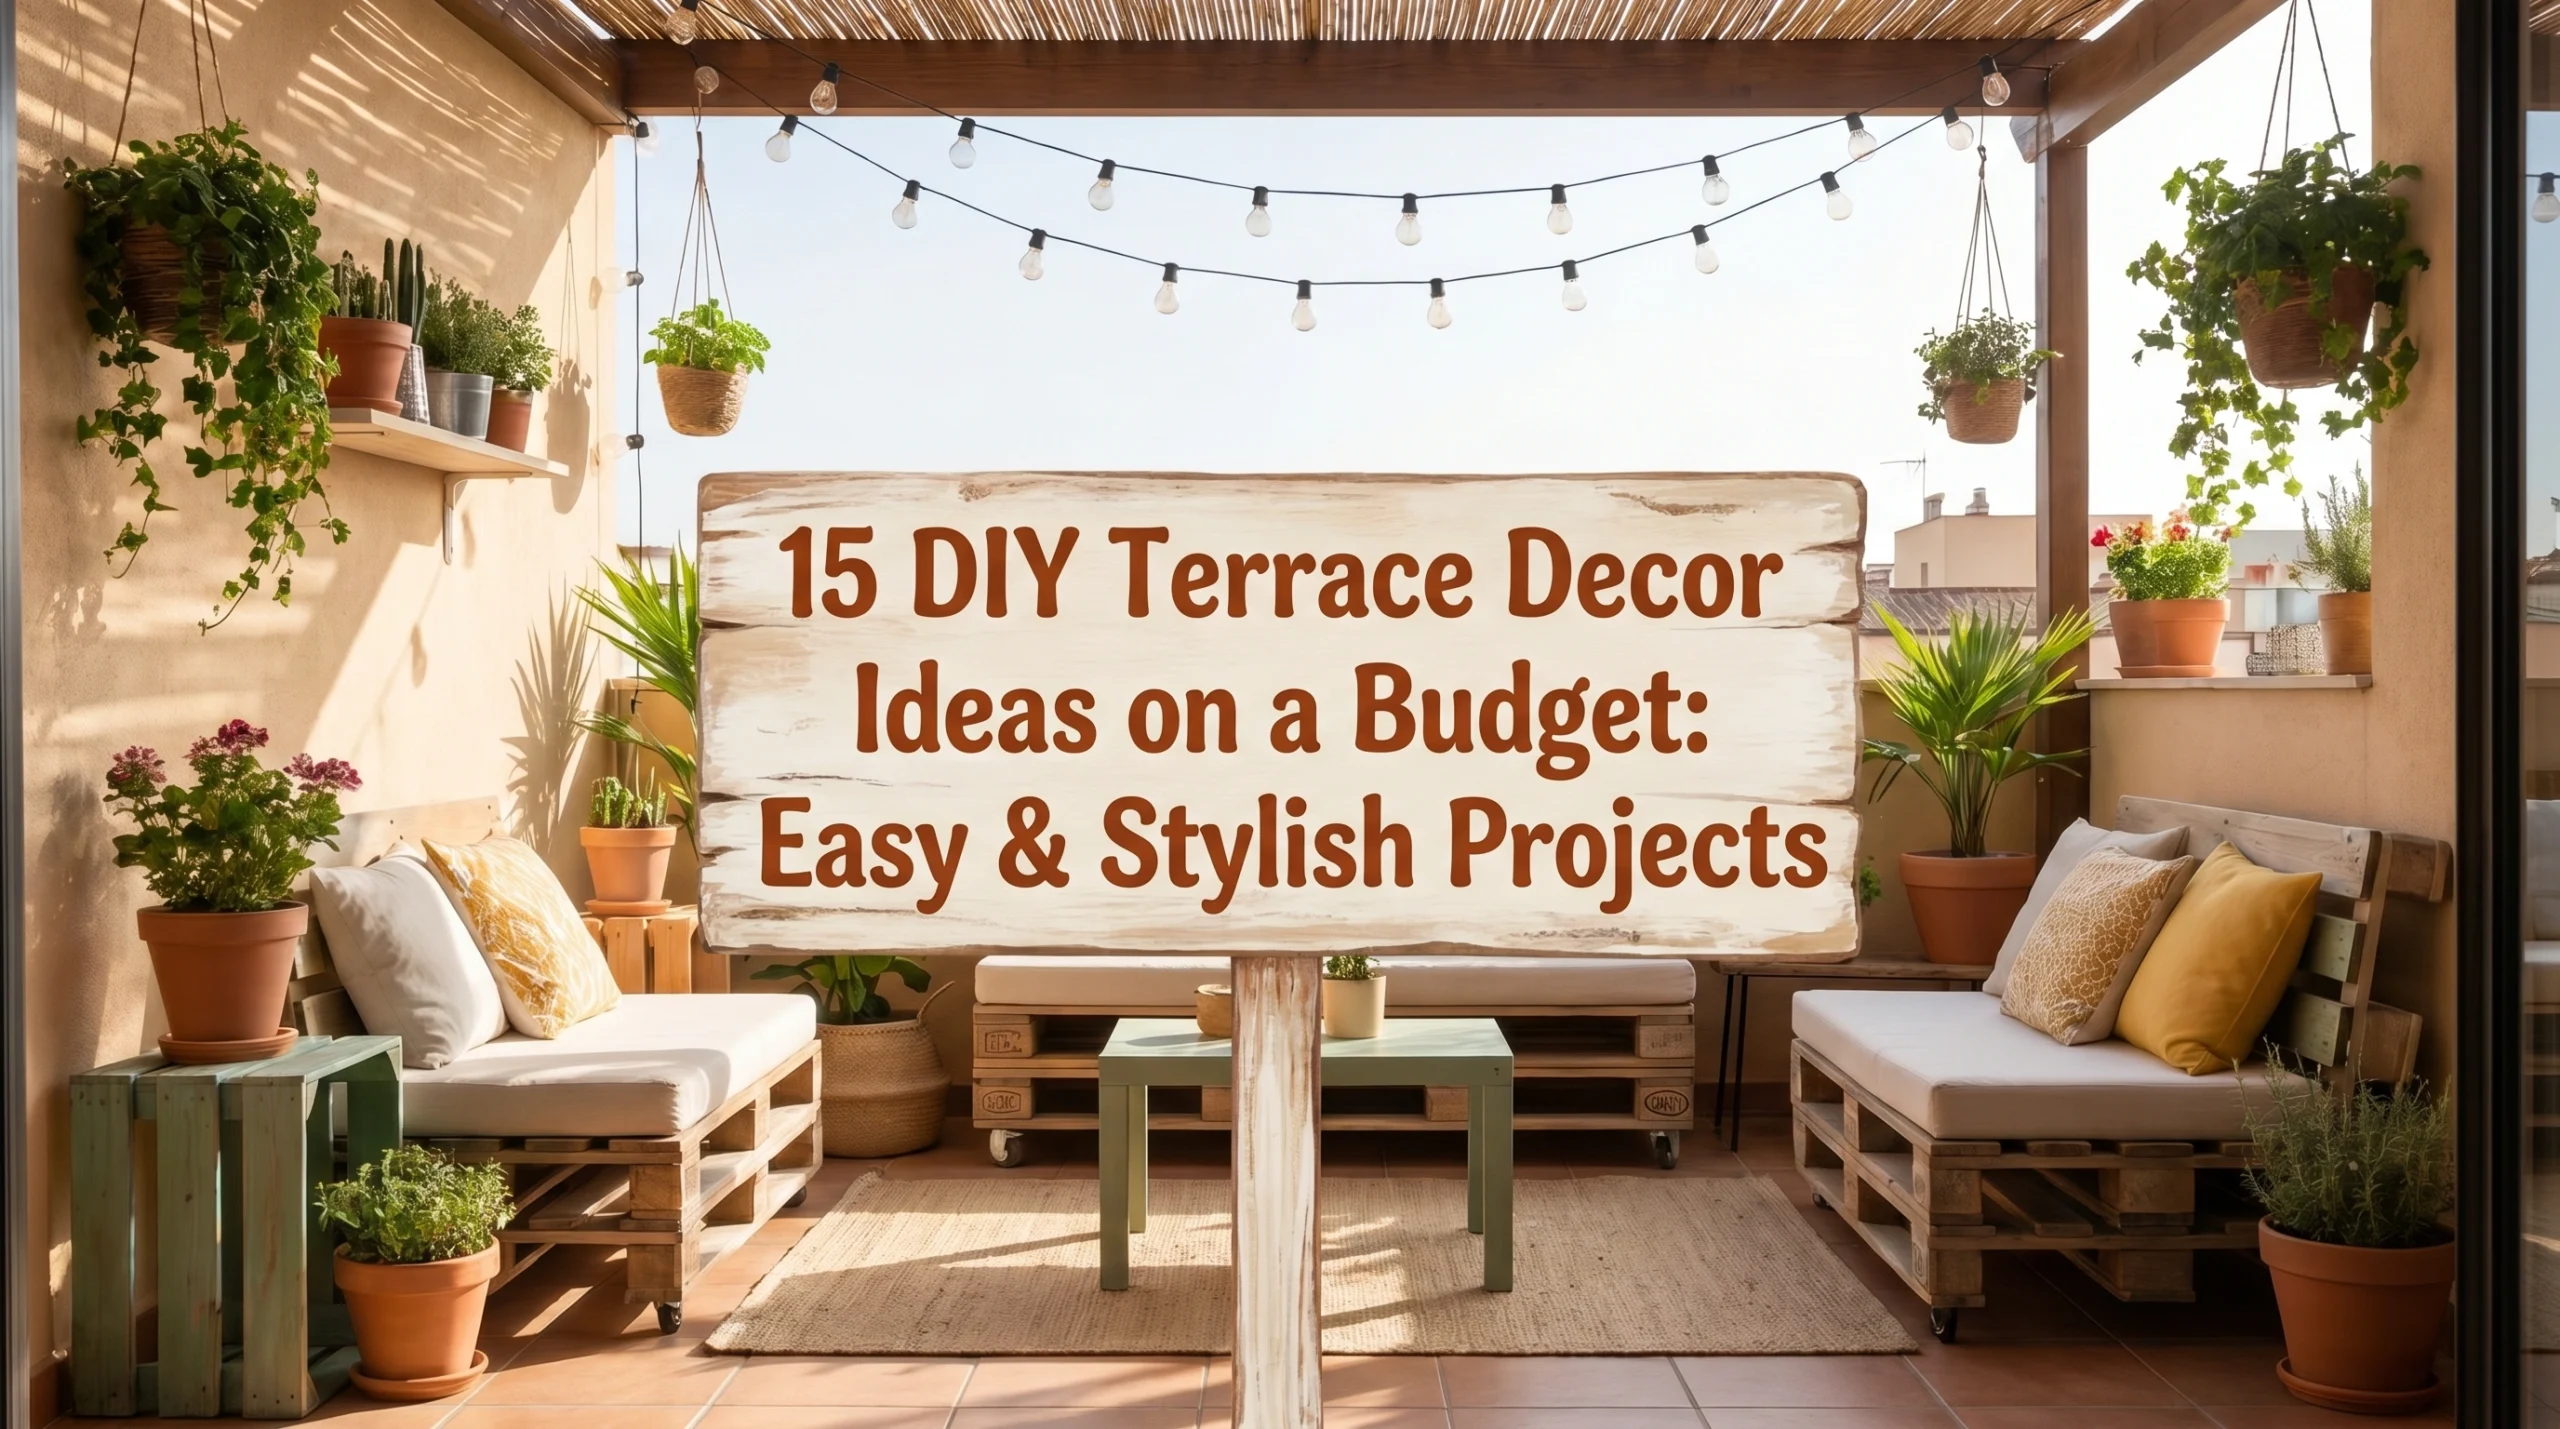
There is nothing more frustrating than looking out at a bare, concrete terrace and feeling like it’s just a wasted opportunity. I’ve been there—standing in a space that feels cold, exposed to the neighbors, and generally uninviting. You want that Pinterest-worthy sanctuary where you can sip your morning coffee or host a sunset dinner, but the price tags on outdoor furniture sets are enough to make anyone’s jaw drop. In my experience, the biggest mistake people make is thinking they need to buy everything from a high-end catalog to make a space feel “finished.”
The truth is, 15 DIY terrace decor ideas on a budget are often more effective at creating a cozy, lived-in vibe than a $3,000 sofa ever could be. By focusing on warmth, personality, and a bit of hands-on creativity, you can completely shift how your outdoor space feels without draining your savings. Whether you have a tiny apartment balcony or a sprawling rooftop, these ideas are designed to be achievable, stylish, and deeply comfortable. Today, I’m walking you through 15 specific, actionable projects that will take your terrace from a “storage spot” to your favorite room in the house.
1. The Hand-Painted Terracotta Cluster
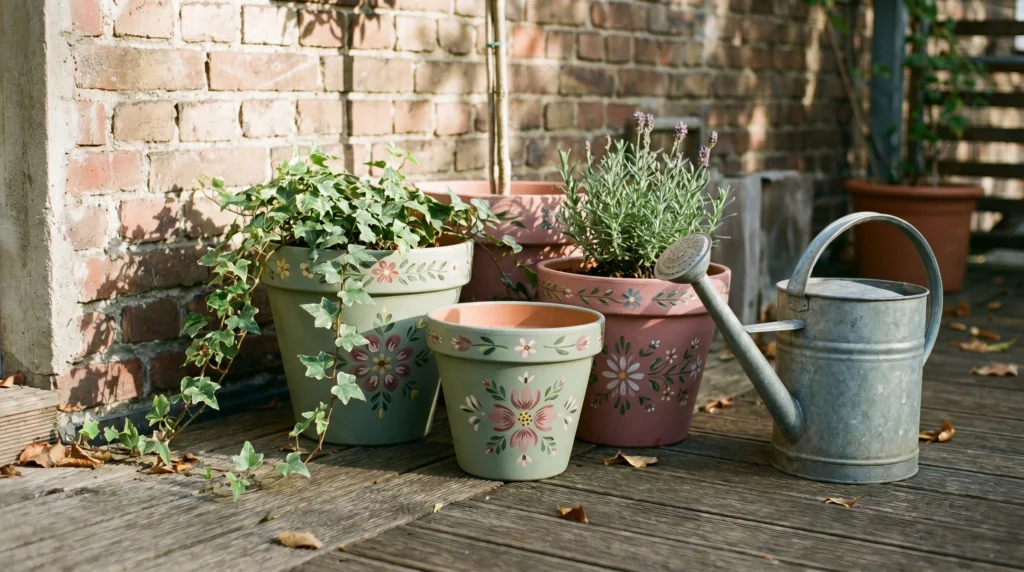
There is a specific kind of warmth that comes from a group of terracotta pots, but plain orange can sometimes feel a bit dated. When you paint them in a cohesive palette—think muted sage, terracotta-rose, and cream—they suddenly look like a high-end collection. I love how the different heights create a visual “staircase” for the eye, making a corner feel lush and intentional rather than cluttered.
To do this, grab a few standard pots of varying sizes (usually $2–$10 each). Use outdoor acrylic paint or chalk paint with a sealer. I personally recommend using a “dry brush” technique to let some of the original texture peek through; it keeps the look grounded and rustic. Avoid painting the inside of the pot, as the moisture from the soil can cause the paint to bubble from the outside. Total cost for a set of three is usually under $25.
2. Vertical Herb Garden from Reclaimed Pallets
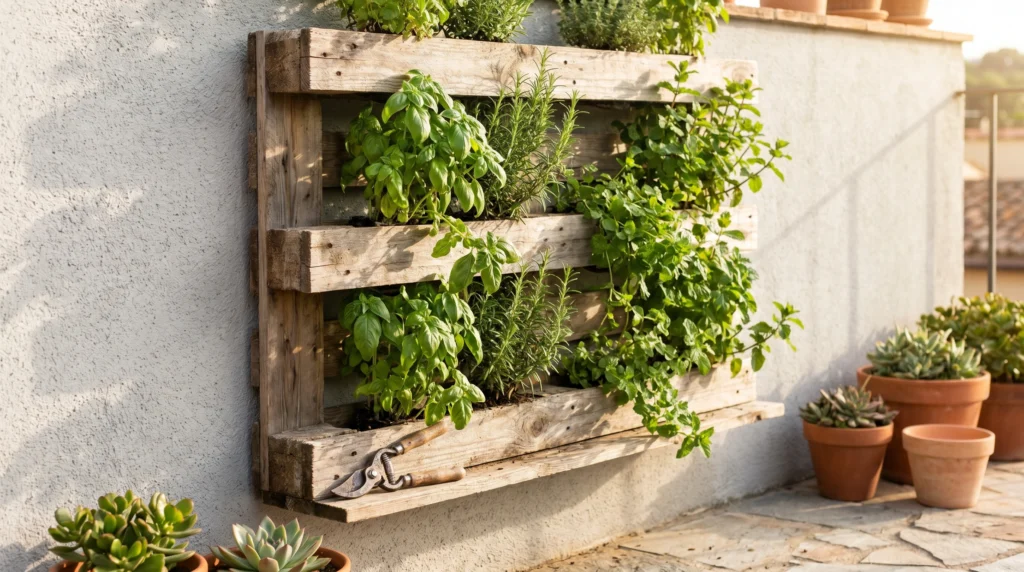
If you’re dealing with a small terrace, the walls are your best friend. A vertical garden adds an immediate “wall of green” that softens the harsh lines of a building. It smells incredible, and there is a genuine sense of pride in picking your own mint for a mojito or basil for a pizza right outside your door. It turns a functional wall into a living piece of art.
Find a heat-treated pallet (look for the “HT” stamp for safety) which you can often get for free. Sand it down to avoid splinters and staple landscape fabric to the back and bottom of each “shelf” to hold the soil. A common mistake is forgetting to treat the wood; use a simple clear outdoor sealer so it doesn’t rot after two rains. You can build this for the cost of the plants and a bag of soil—roughly $30–$40.
3. The “Stock Tank” Coffee Table
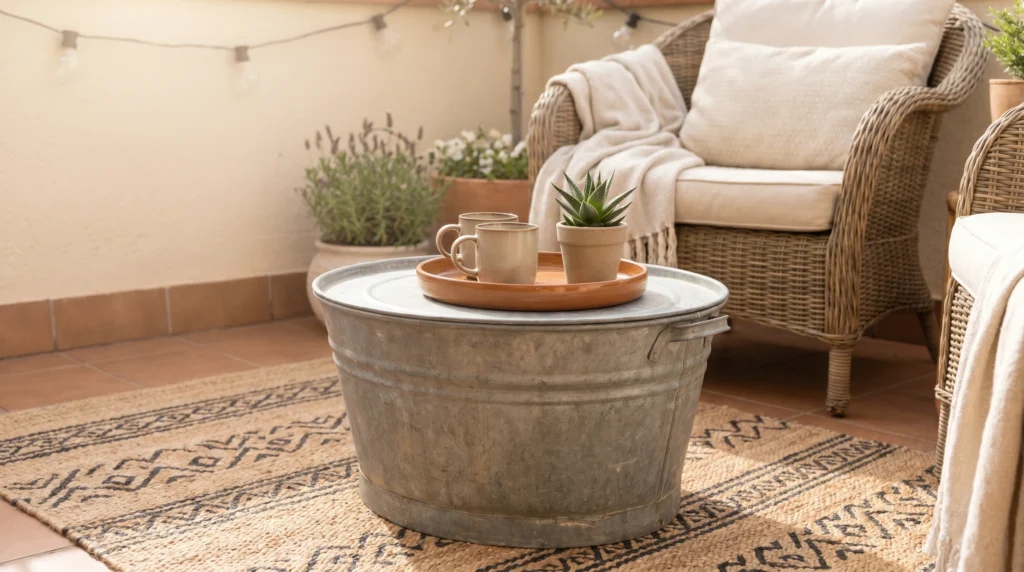
Most outdoor coffee tables are either flimsy plastic or way too expensive. A galvanized stock tank or even a large metal washbasin flipped upside down makes for an incredible industrial-chic centerpiece. It’s heavy enough that it won’t blow away in a storm, and the metallic texture provides a nice contrast to soft outdoor fabrics. What I personally love about this is how indestructible it feels.
You can find small galvanized tubs at hardware stores for around $25. To make it a “real” table, you can leave it as is or glue a round wooden tabletop (a pre-cut pine circle from the craft store works great) to the top using outdoor construction adhesive. A big mistake here is choosing a tub that’s too tall; keep it around 16–18 inches high so it aligns with your seating. This is a $40 project that looks like a $200 boutique find.
4. DIY Outdoor Rug with Floor Paint
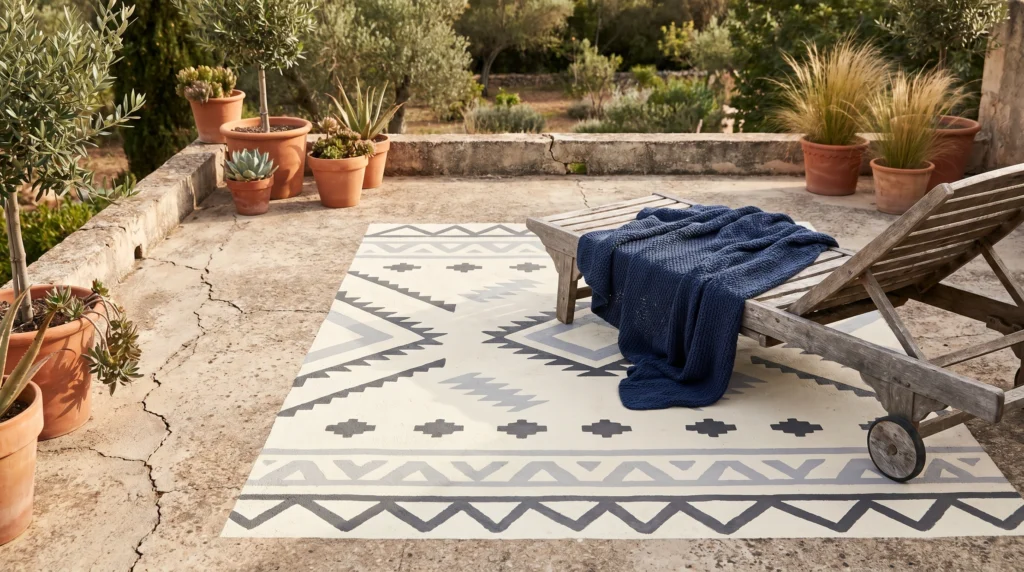
Outdoor rugs are notorious for trapping dirt and fading in the sun. Instead of buying a fabric rug, I always recommend “painting” one directly onto your concrete or wood terrace floor. It defines the “seating zone” just like a real rug does but stays looking crisp for years. It’s a total game-changer for covering up ugly, stained concrete.
Use painter’s tape to mark out a large rectangle, then use floor-grade outdoor paint in a soft navy or slate gray. For a Pinterest-worthy look, paint a simple border or a large-scale stencil pattern in a contrasting cream. One real tip: make sure you power wash the surface first; paint won’t stick to hidden dust. A quart of porch paint and some tape will cost you about $35.
5. String Lights with DIY Timber Posts
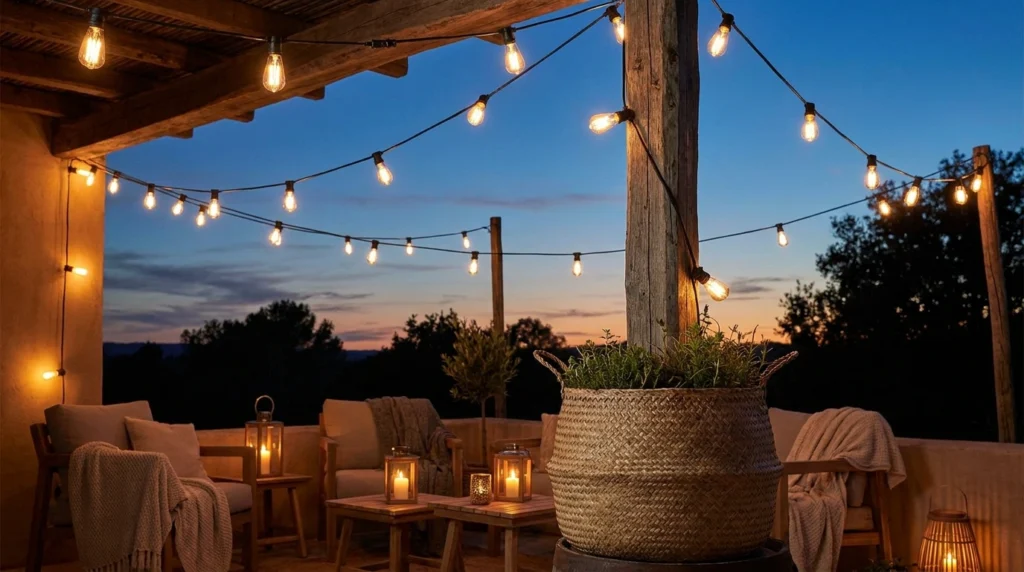
We all know string lights make everything look better, but many terraces don’t have high walls or trees to hang them from. This is where the timber post trick comes in. By anchoring tall wooden posts in heavy planters, you can create a “canopy” of light anywhere. It makes the space feel like a private bistro once the sun goes down.
Buy two 8-foot pressure-treated 4×4 posts. Place them in large plastic buckets, fill with quick-set concrete, and once dry, hide the concrete bucket inside a pretty wicker basket or a larger wooden planter. A lot of people skip the concrete and try to use rocks—don’t do that, the wind will topple them. Use screw-in hooks at the top of the posts to string your Edison bulbs. Total cost is around $60–$80 depending on the lights you choose.
6. Upcycled Crate Side Tables

I’m a huge fan of using old wooden crates because they are so versatile. Standing one on its side creates a table surface on top and a little “cubby” inside for books or a spare blanket. It’s the perfect spot to set down a drink without needing a full-sized furniture piece. They add that “found” aesthetic that makes a home feel like it has a story.
You can usually find crates at craft stores for $12 or vintage markets for $20. Give them a quick sand and a coat of outdoor stain—I love a dark walnut or a soft weathered gray. To make them feel more “furniture” like, add four small 2-inch wooden legs to the bottom. A common mistake is leaving them unfinished; the raw wood will gray and splinter quickly if not sealed. This is a quick $20 fix.
7. The “Privacy Wall” with Climbing Vines
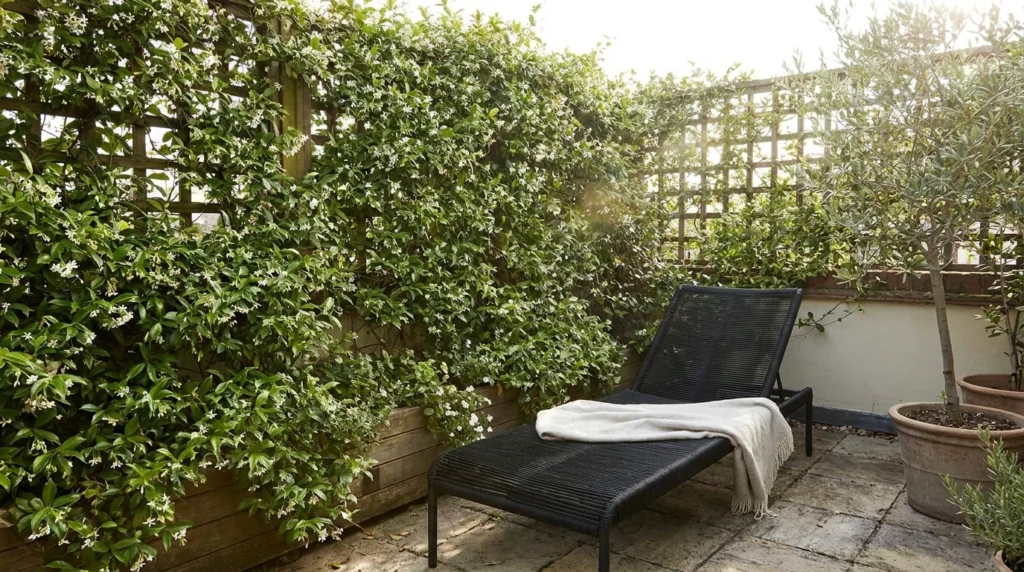
Privacy is the biggest hurdle for most terrace owners. Instead of a plastic screen, try a DIY trellis with fast-growing vines like Clematis or Star Jasmine. It provides a “green screen” that blocks the neighbors’ view while also cooling down the air. It’s much more relaxing to look at leaves than a fence.
You can buy a simple expandable willow trellis for about $15. Mount it to your railing or wall using zip ties or hooks. Place a long rectangular planter at the base (DIY one from cedar planks for $25). Tip: choose an evergreen vine if you want privacy all year round, otherwise you’ll be looking at bare sticks in the winter. Total project cost: $50.
8. Hand-Stamped Outdoor Pillows
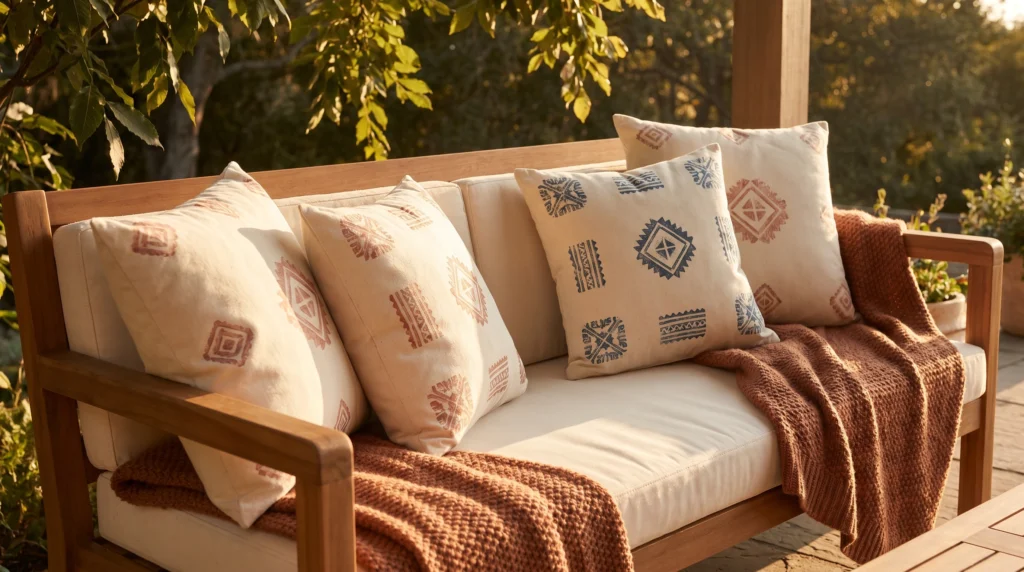
Outdoor pillows can be surprisingly pricey, often $30+ each. You can make your own high-end looking versions using cheap canvas drop cloths and fabric paint. It allows you to customize the colors to perfectly match your terrace’s vibe, whether you’re going for a boho terracotta look or a crisp navy and white nautical feel.
Buy a canvas drop cloth from the hardware store ($15) and cut it into squares. Use a potato or a piece of carved sponge to stamp simple designs like triangles or half-moons using outdoor fabric paint. If you can’t sew, use iron-on hem tape to close the edges after stuffing them with poly-fill. A common mistake is using regular indoor stuffing; it will mold. Use mildew-resistant inserts. You can make four pillows for about $40.
9. Concrete Cinder Block Bench
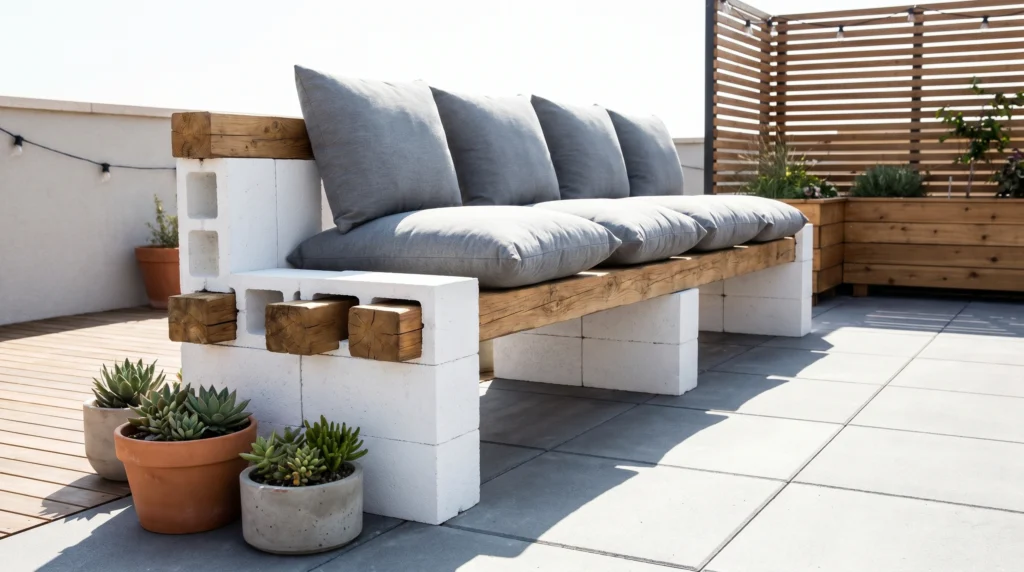
If you need extra seating but don’t want to spend hundreds, the cinder block bench is a classic for a reason. It looks modern, architectural, and it’s incredibly sturdy. I’ve seen these styled in high-end homes, and they fit right in when done correctly. It’s essentially adult Legos for your terrace.
Stack twelve cinder blocks (about $1.50 each) into two pillars. Slide four 4×4 pieces of lumber (cut to your desired length) through the top holes of the blocks. I recommend painting the blocks a matte black or a soft white to make them look less like a construction site. A common mistake is not gluing the blocks together; use a bit of landscape adhesive for safety. Total cost: $60–$70 including the wood.
10. Solar Lantern Glow-Up
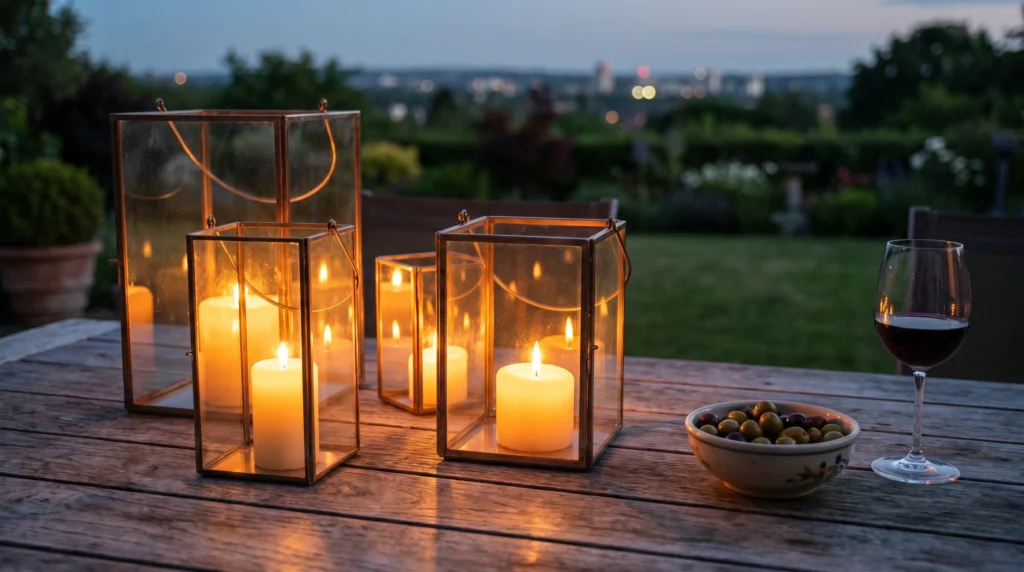
Hard-wiring lights on a terrace is a nightmare. Solar lanterns are the answer, but the cheap plastic ones often look, well, cheap. By placing those inexpensive solar “stakes” inside beautiful glass jars or vintage lanterns, you create an upscale lighting feature that turns on automatically every evening. It creates that “candlelight” mood without the fire hazard.
Grab a few glass canisters or thrifted lanterns ($5–$15). Remove the stake part from a $2 solar light and glue the solar cap to the lid of your jar. Fill the bottom of the jar with a few decorative stones or sea glass to hide the battery housing. Tip: make sure the jars aren’t under an awning, or they won’t charge! This is a $10 project that adds massive ambiance.
11. Bamboo Fencing for a Tropical Vibe
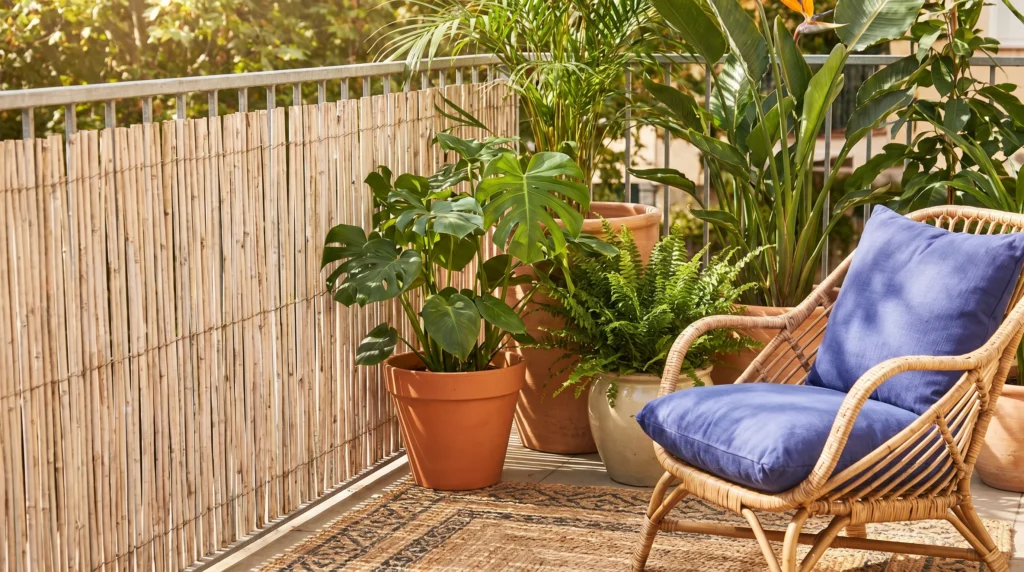
If you have an ugly chain-link fence or a boring metal railing, bamboo screening is the fastest way to hide it. It instantly gives the terrace a “vacation” feel and provides a nice, organic backdrop for your plants. It’s much more aesthetically pleasing than a solid plastic screen and allows a little bit of air to flow through.
You can buy rolls of bamboo fencing for about $30 at most home centers. Use black zip ties to secure it to your existing railing—they blend into the shadows of the bamboo and are nearly invisible. A lot of people cut the bamboo too short; let it sit about an inch off the ground so it doesn’t soak up puddles and rot. This is a one-hour project with a huge visual impact.
12. DIY Macramé Plant Hangers
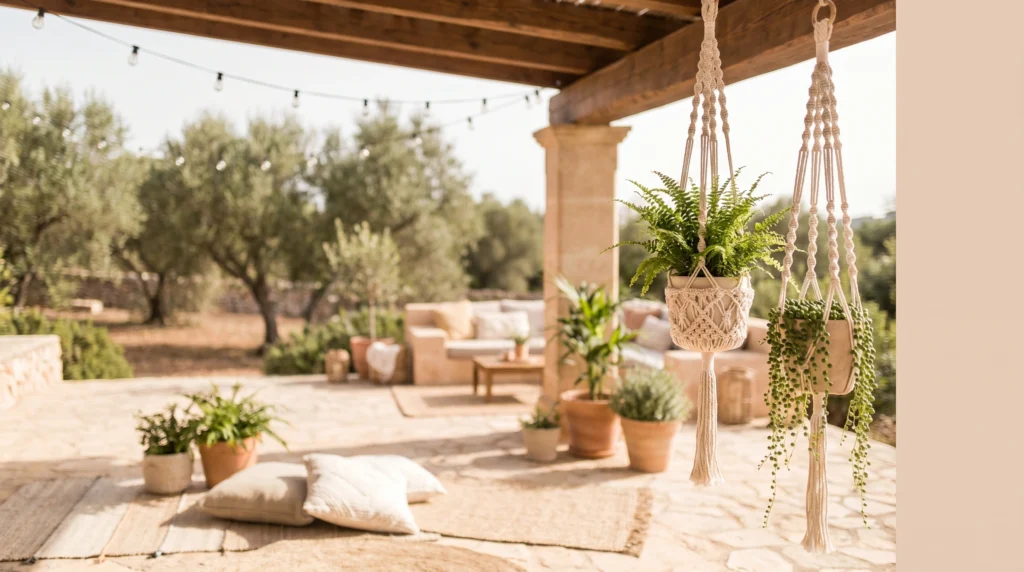
To really get that Pinterest-worthy “layered” look, you need to use the vertical space above your head. Macramé hangers allow you to suspend plants at different levels, which makes a small terrace feel much larger and more immersive. It’s a very relaxing craft to do on a Saturday afternoon.
All you need is a roll of cotton cord ($10) and some wooden rings ($5). There are hundreds of “square knot” tutorials online that take 15 minutes to learn. I personally love using these for trailing plants like Pothos or String of Pearls. A common mistake is using thin string; go for a 4mm or 5mm cord so it’s strong enough to hold a heavy watered pot. Cost per hanger: about $3.
13. The Outdoor “Art” Wall
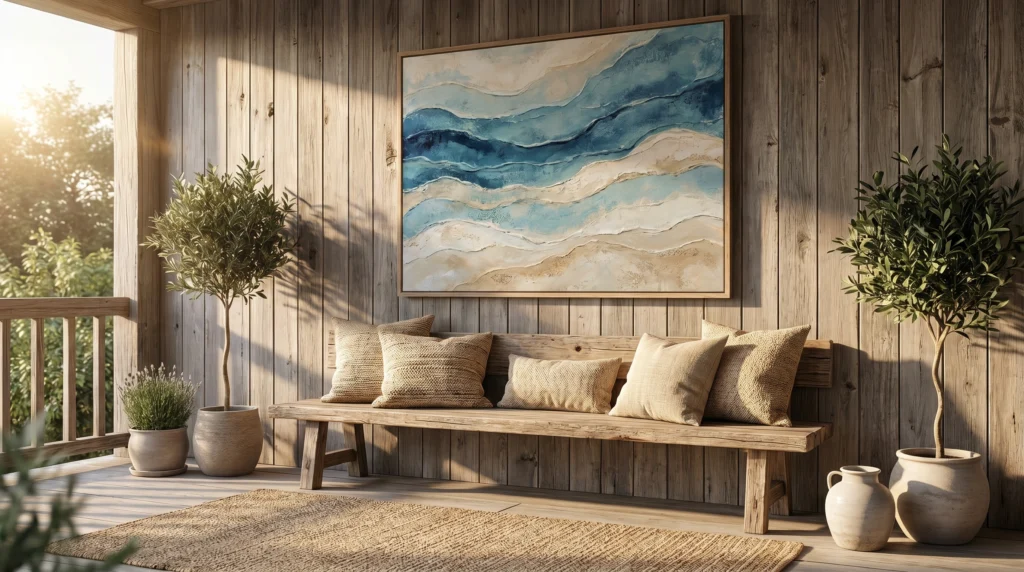
Why should art stay indoors? Hanging a weather-resistant piece on your terrace wall makes it feel like an extension of your living room. It’s the final touch that makes a space feel “decorated” rather than just “furnished.” It’s a great way to pull in some of those accent colors like terracotta or navy.
You don’t need to buy expensive “outdoor art.” Take an old wooden frame, remove the glass, and paint a simple abstract design on a piece of plywood or a thick canvas using outdoor house paint. Seal it with a clear spray. Tip: don’t use paper or cardboard; it will wilt in the humidity. You can often make this for $0 using leftover paint and scrap wood.
14. Repurposed Ladder Plant Stand
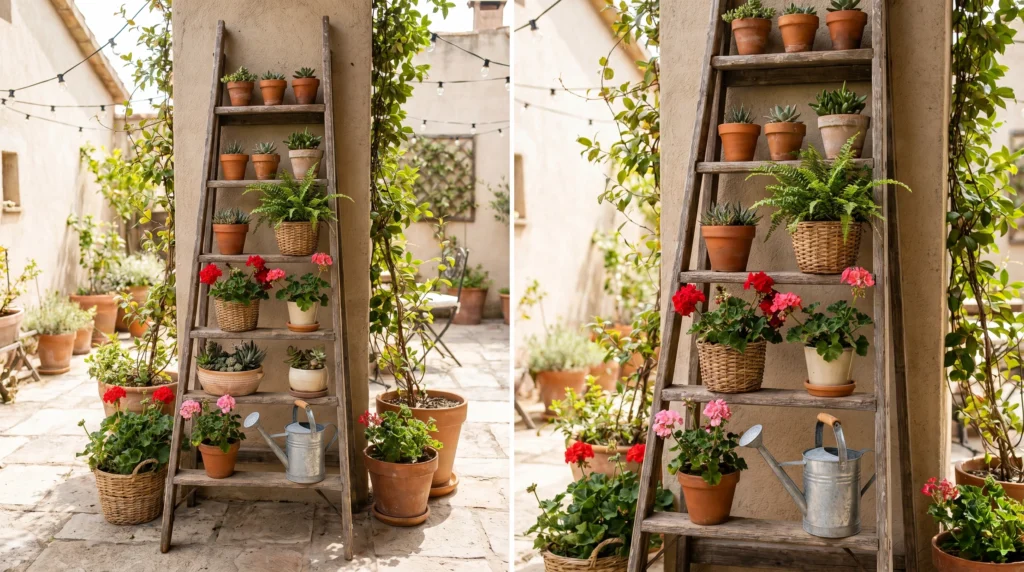
An old wooden ladder is the perfect “bookshelf” for plants. Because it tapers at the top, it doesn’t block too much light but provides multiple levels for styling. It’s a great way to display a collection of small succulents and larger ferns in a compact footprint. I see these in almost every “top-tier” Pinterest terrace for a reason.
Look for a vintage wooden step ladder at a garage sale or thrift store ($15–$25). You can leave it rustic or paint it a bold color like navy or sage green. If the steps are too narrow for your pots, lay wide wooden planks across the rungs to create deeper shelves. A mistake to avoid: not anchoring it. If you live in a windy area, use a small L-bracket to secure it to the wall. Total cost: $30.
15. Gravel or Pea Stone “Floor”
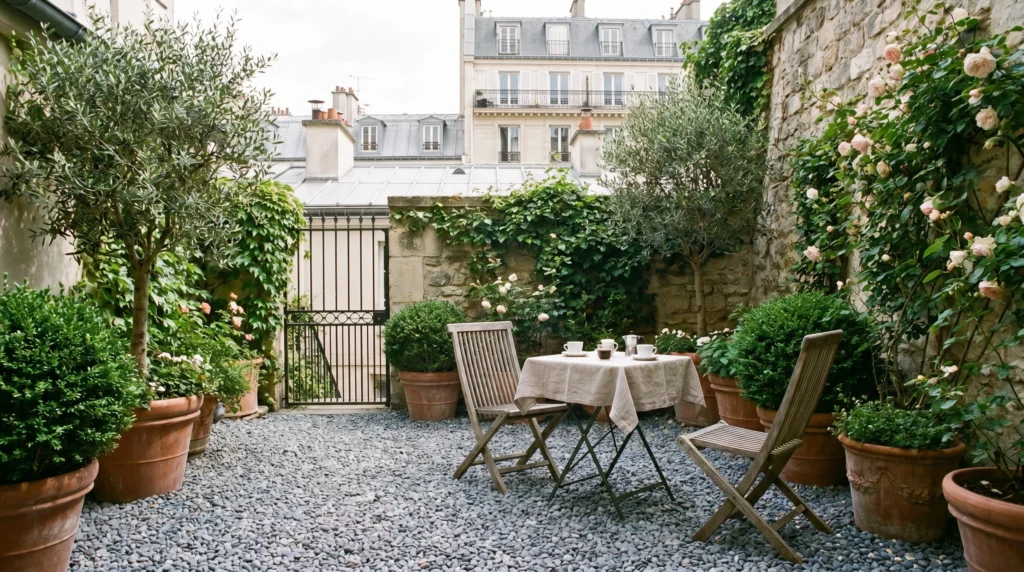
If you have a ground-level terrace with a tired, cracked concrete pad, you can transform the entire look by adding a layer of pea gravel. It’s a classic European look that feels very high-end and intentional. It also provides great drainage and hides a multitude of sins on the ground beneath it.
Buy bags of pea stone or Mexican river rock from the hardware store ($5 per bag). Build a simple frame using pressure-treated 2x4s to keep the stones contained. Lay down a layer of weed fabric first, then pour the stones on top. Tip: don’t go too deep; 2 inches is plenty. Any deeper and it becomes hard to walk on. This project costs about $60–$100 depending on the size of your space.
Final Thoughts
Creating a beautiful outdoor space doesn’t require a massive budget or a professional designer. As we’ve seen with these 15 DIY terrace decor ideas on a budget, the most impactful changes often come from a bit of paint, some reclaimed wood, and a few well-placed lights. My biggest piece of advice? Don’t try to do all fifteen this weekend. Pick one or two that really speak to your style and start there. A terrace is a living space—it should grow and evolve with you over time.
In my experience, the homes that feel the most inviting are the ones that prioritize comfort and personality over trend-following. Whether it’s the glow of a DIY lantern or the scent of a pallet herb garden, these small touches are what make a house a home. Now, I’d love to hear from you! Which of these ideas are you trying first for your own terrace? Drop it in the comments below—I’d love to know!
FAQs
How can I make my terrace look expensive on a low budget?
The secret to an expensive-looking terrace is “layering.” Don’t just put out a chair; add a throw blanket, a textured pillow, and a small side table. Focus on a cohesive color palette—sticking to 3 main colors (like sage, cream, and wood tones) makes everything look like it was bought as a set even if it’s all DIY. High-quality lighting, like warm string lights or lanterns, also adds an immediate “luxe” feel for very little cost.
What are the best plants for a low-maintenance terrace?
If you don’t want to spend every evening watering, go for “set and forget” plants. Succulents and ornamental grasses are incredibly hardy. For color, Geraniums are tough as nails and can handle heat well. If you have a shady terrace, Hostas and Ferns are your best friends. Always check the light requirements of a plant before buying, as a plant in the wrong spot is just money wasted when it eventually fails to thrive.
How do I protect my DIY terrace decor from rain and sun?
Weatherproofing is the most important step for any DIY project. For wood, always use an outdoor-rated stain or a clear polyurethane sealer. For fabric items like pillows, look for “Outdoor” fabric paint and use water-repellent sprays like Scotchgard. If a storm is coming, I always recommend bringing in your lighter pillows and blankets; it only takes a minute and will make your hard work last three times longer.
Is it okay to use indoor furniture on a terrace?
Generally, I advise against it unless the area is fully covered and protected from the elements. Indoor wood is often held together with glue that isn’t water-resistant, and it will warp or fall apart quickly. However, you can use indoor metal or plastic furniture if you give it a coat of rust-preventative outdoor paint. Just remember that fabrics must be swapped for outdoor-grade versions to prevent mold and fading.